Recently I had an axle fail right before we were to leave for the Blue Suede Cruise at Summit Motorsports Park back in July.
We did an axle swap from the red trailer to the white trailer.
We have just recently found replacement axles to put back under the red trailer.
This is that story and the saga can be viewed on my web site on the link below
https://www.lever-family-racing.com/...ory-2017-08-16
or below
So, this is a long story, so get yourself a refreshment, your reading glasses, and sit back for a long boring story.
There is really four chapters to this story
1) Tire failure
2) Noticing a problem with an axle on the trailer holding the dragster right before the third NDRL race of the season at Gateway Motorsports Park (a two day trip there and another two day trip back).
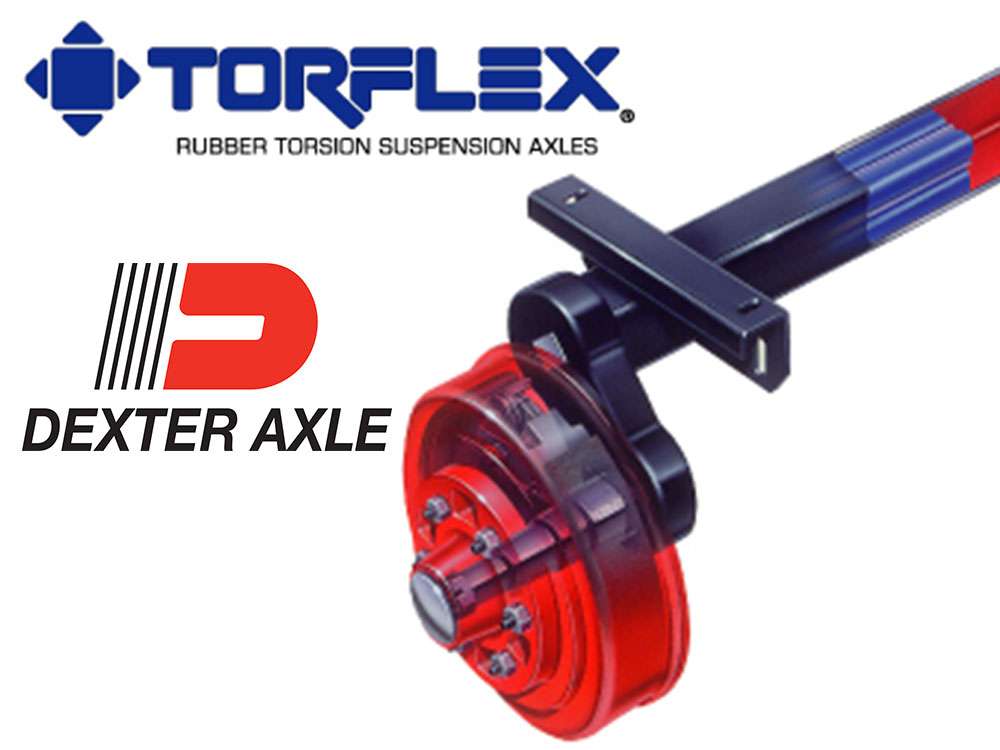
3) Identifying and purchasing the correct Torflex Dexter axle
4) Installing the new axles on the Red Trailer
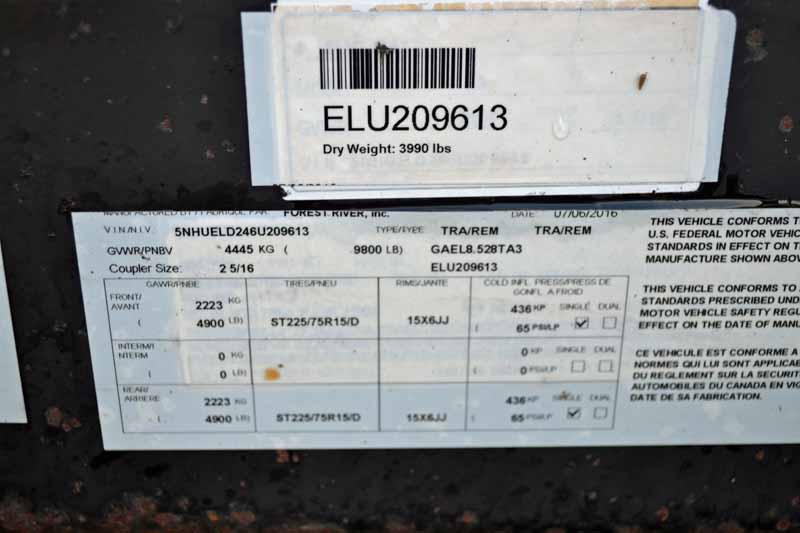
- Tire failure. This starts back one year ago when we were returning from the race at Bowling Green and we had three Carlise trailer tries fail on the return trip home. We purchased five new SuperCargo E Load range tires from Camping world in Hamburg NY, at a price of $977.13. On the way from the NDRL race at Memphis to the NHRA HRR in Bowling Green, we had one of those tires (less than a year old) come apart while on the highway. While in Bowling Green, we tried to find someone to warranty the tire. No one would. There is a Camping World there and they told me I had to return the tire to the Camping World in Hamburg NY (500 miles away). Before leaving Bowling green, I purchased 5 new Carlise tires, as I did not trust the remaining Super Cargo tires (The Carlise tires are of a new design which is supposed to eliminate the past problems). This happened back on June 17. It is now September 22 and we are still fighting with Sutong over the warranty on these tires. We have the original receipt, the trailer only requires D load range tires, the trailer is not overloaded (1440 front engine dragster is in the trailer), the trailer tires have tire sensors that sense both temperature and pressure.
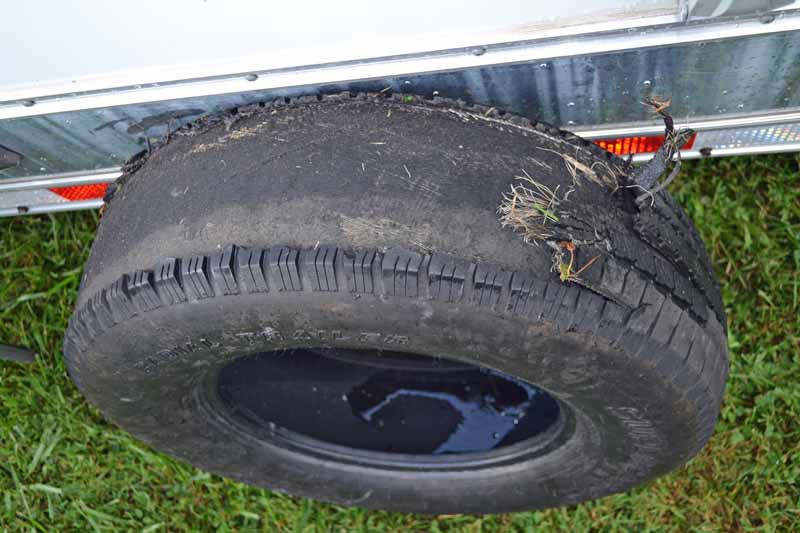
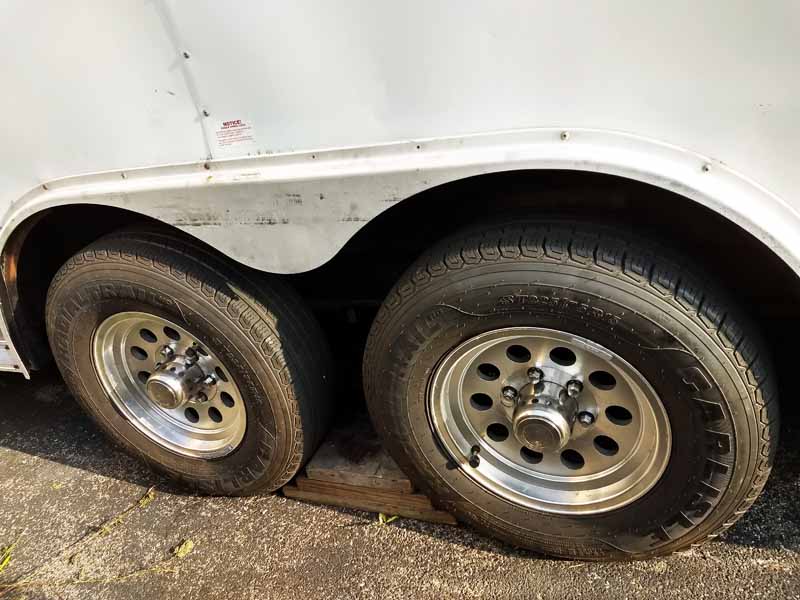
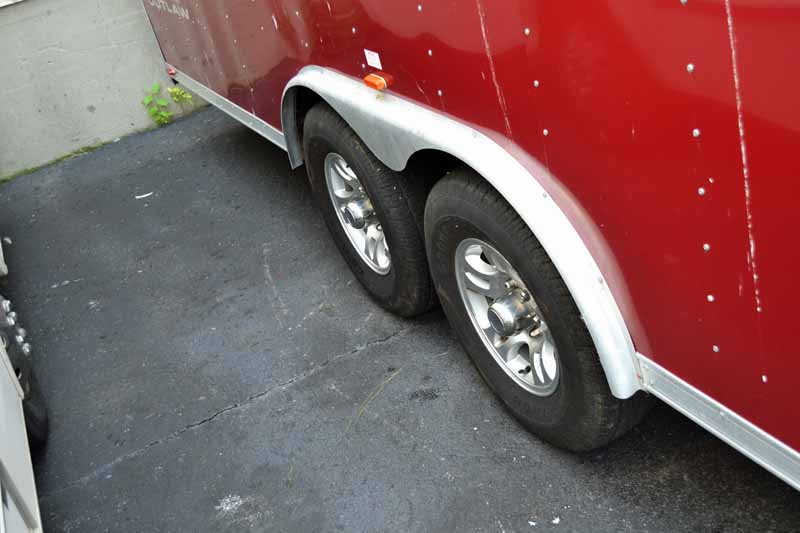
This tire was on the right rear position of the trailer. Because of the sensitivity to tires, I noticed the tire in the right front position would lean in when a disproportionate amount of weight was put on that tire.
Special note should be taken: at this point, the tire failure was not on this axle.
This could be repeated easily by lowering the trailer tongue jack, which causes the weight of the trailer to be transferred from an even distribution on both axles to more weight being put on the front axle. When the trailer was setting on level ground, the tires were all straight up and down. Now this should not be possible with a Dexter Torflex axle because of its construction.
A Dexter Torflex axle has no springs or shackles. It has a hardened metal square bar inserted inside a hole in a square tube with four rubber strips in each corner. This hardened metal bar is inserted two feet into the square tube. Welded to the end of the hardened square bar is an idler arm and welded to that is the spindle.
None of the other tires would do this, the wheel bearings were tight. The only explanation I could come up with was that either the hardened metal bar or the spindle had a crack in it allowing them to flex when weight was applied.
This brings us to
chapter two: Noticing a problem with an axle on the trailer holding the dragster right before the third NDRL race of the season at Summit Motorsports Park, in Norwalk Ohio.
I was on the verge of not going to this race because of the fear of the axle failing on the trip.
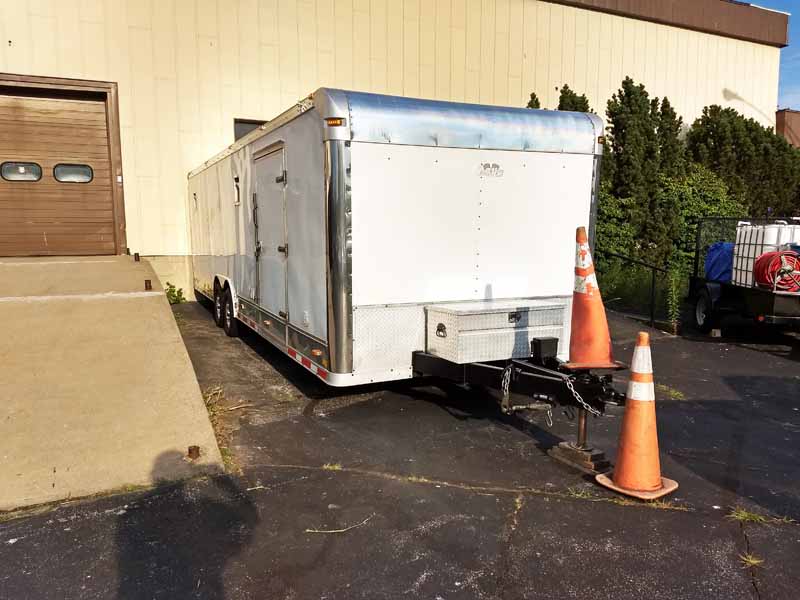
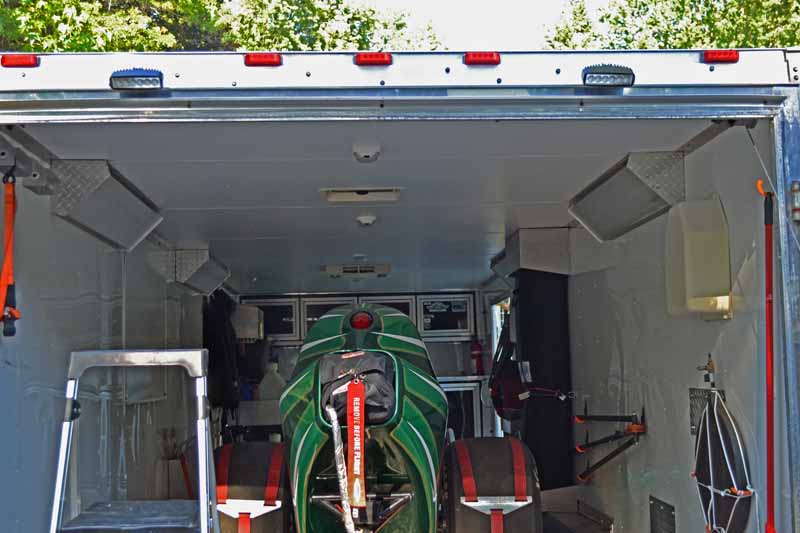
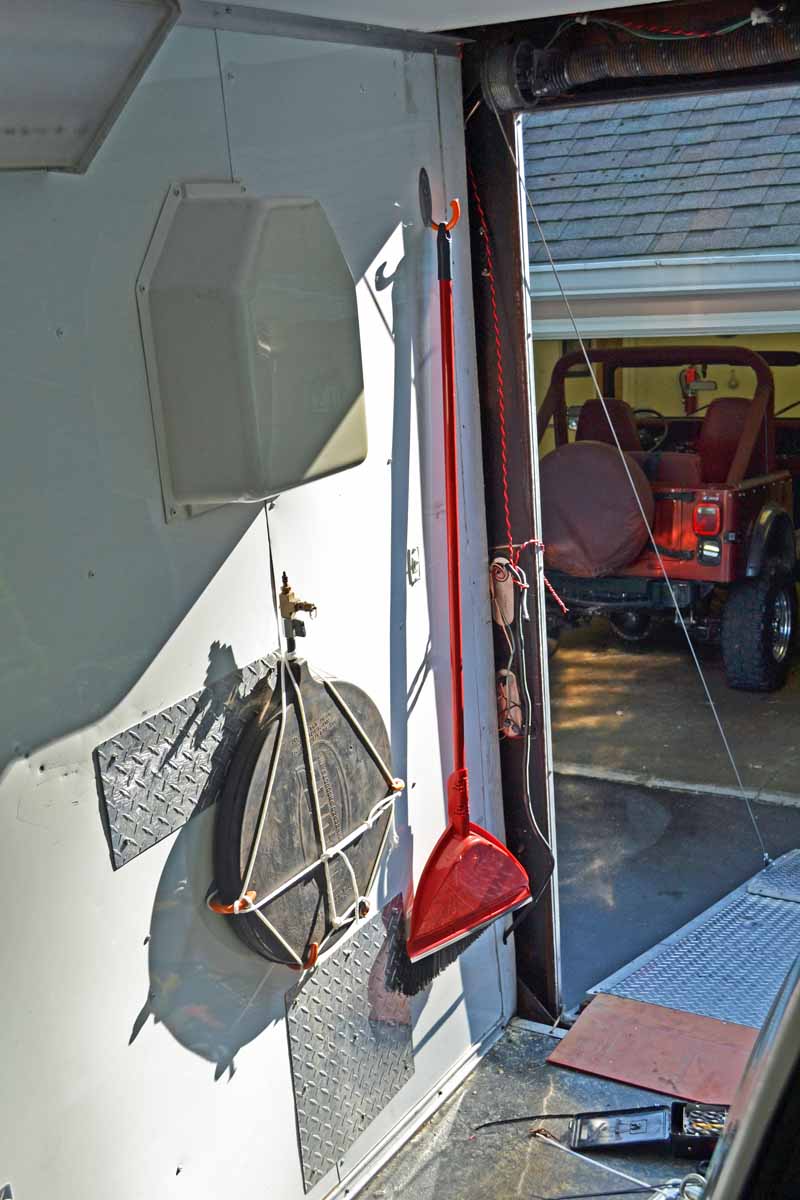
I have a second trailer that was purchased to haul the Jeep around. It is a 24 foot trailer vs the 28 foot trailer that the dragster is in. I put a message out that I was going to remove the cabinet in the front of the 24 foot trailer to get the dragster to fit, and a friend of mine suggested swapping the axles out from under the Jeep trailer (both trailers had 5,200 pound axles under them (heretofore called the “red trailer”)) and putting them under the trailer holding the dragster (heretofore known as the “white trailer”).
Some careful measurements were taken and although there were several different measurements (which we did not find until the axles were removed), it was thought they would be a direct fit. As these axles are held in by four bolts per axle this was thought to be a simpler solution.
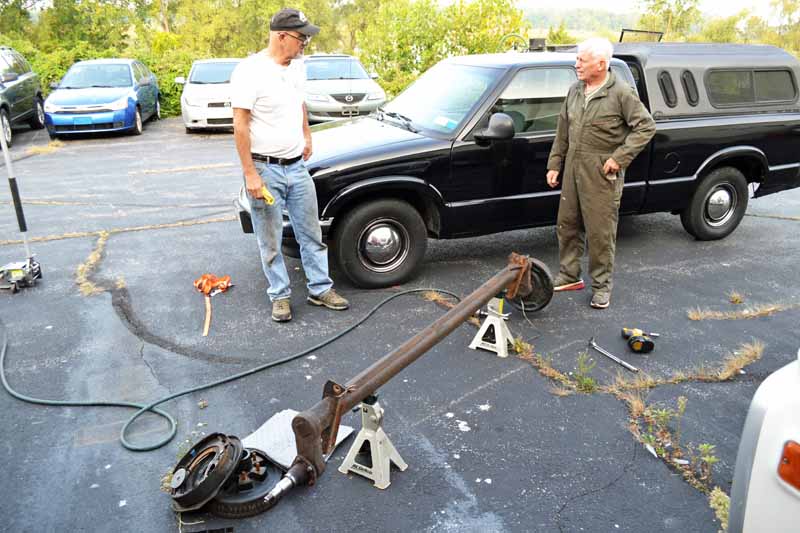
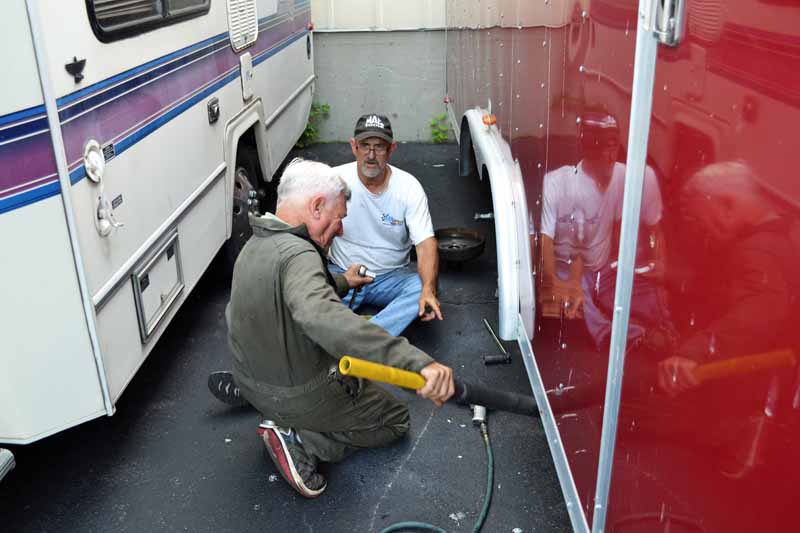
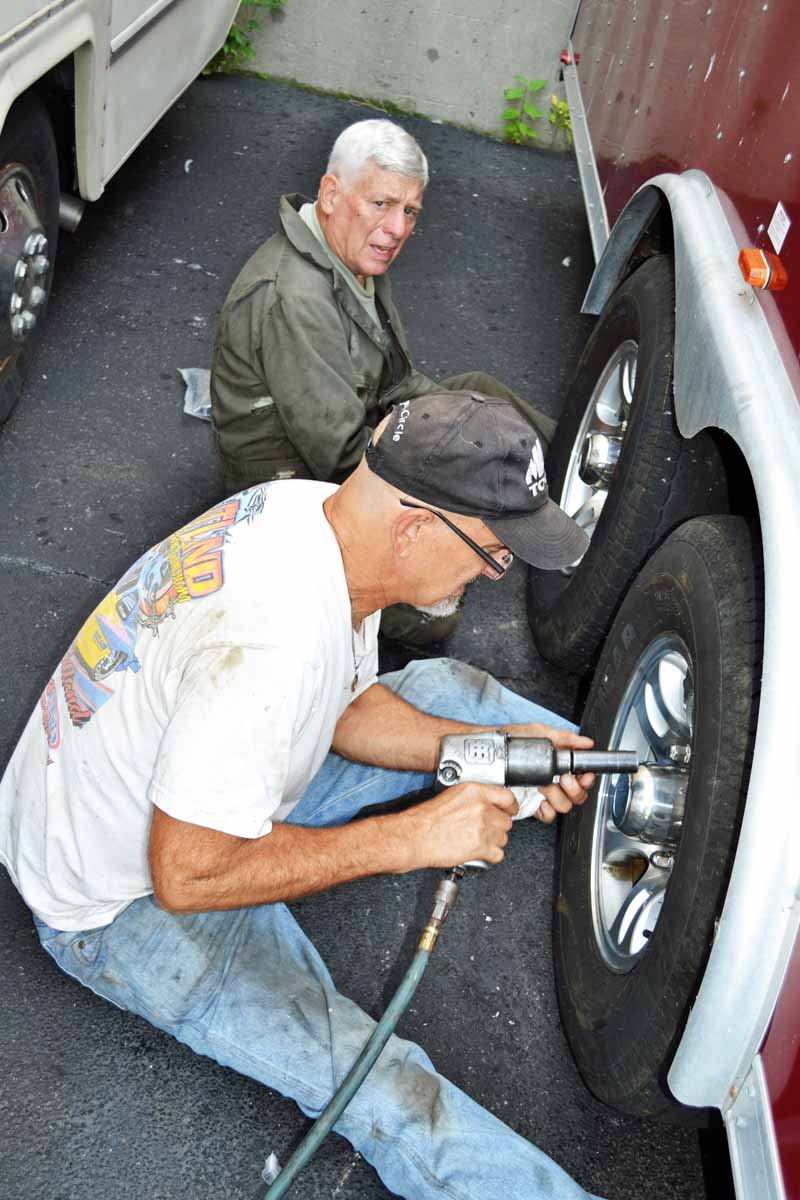
John Heywood’s saying “Many hands make light work” is certainly true. Two really good friends helped with this task: Steven Walczak and Bill Gagnier
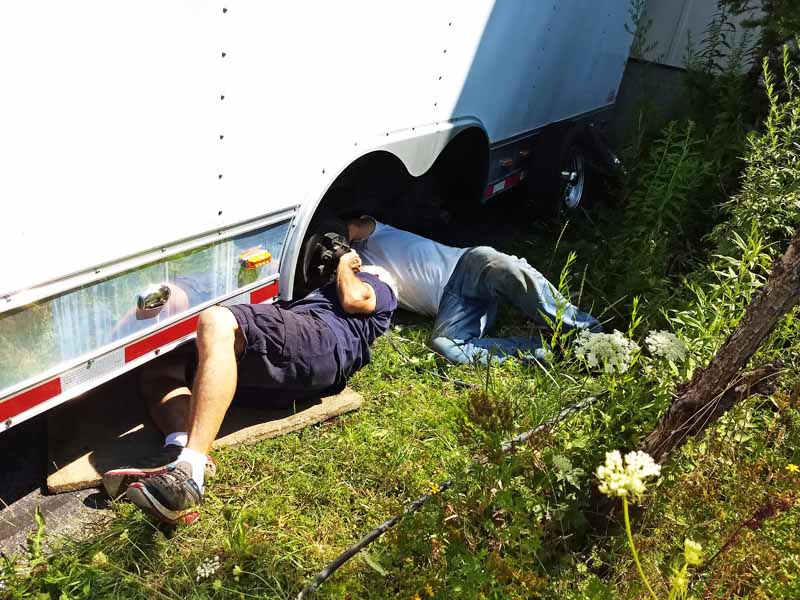
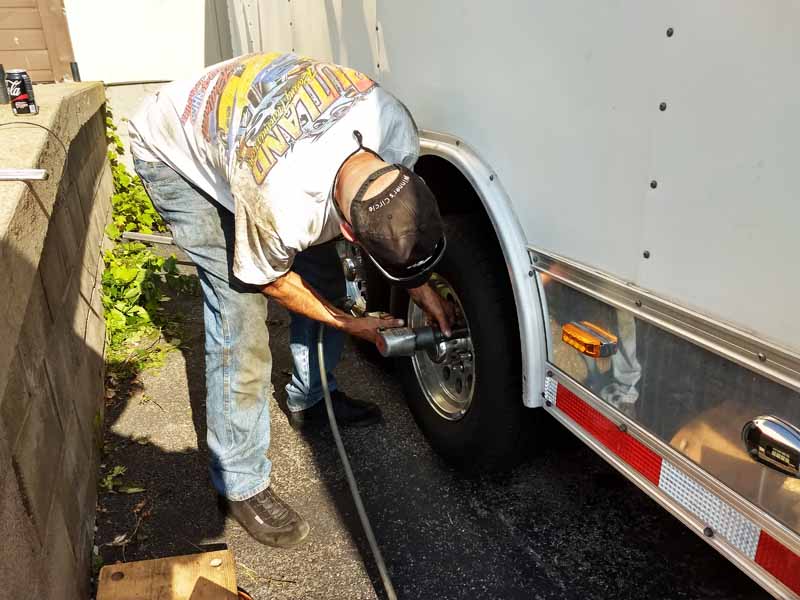
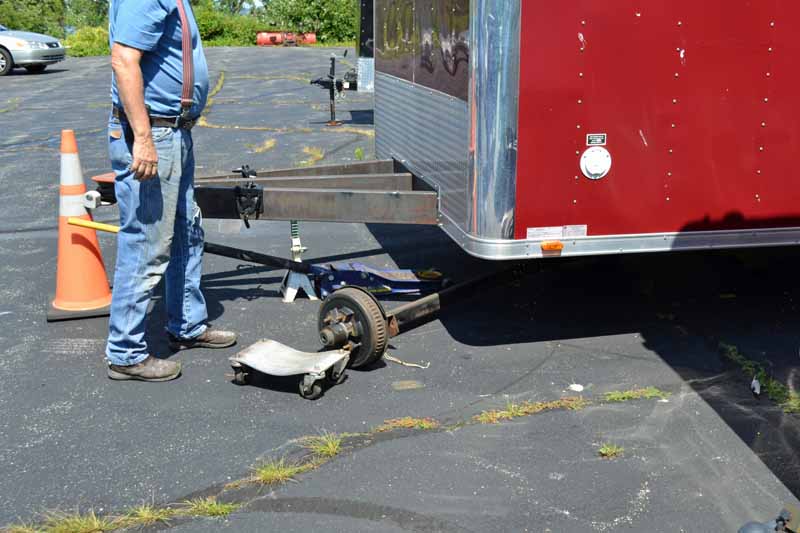
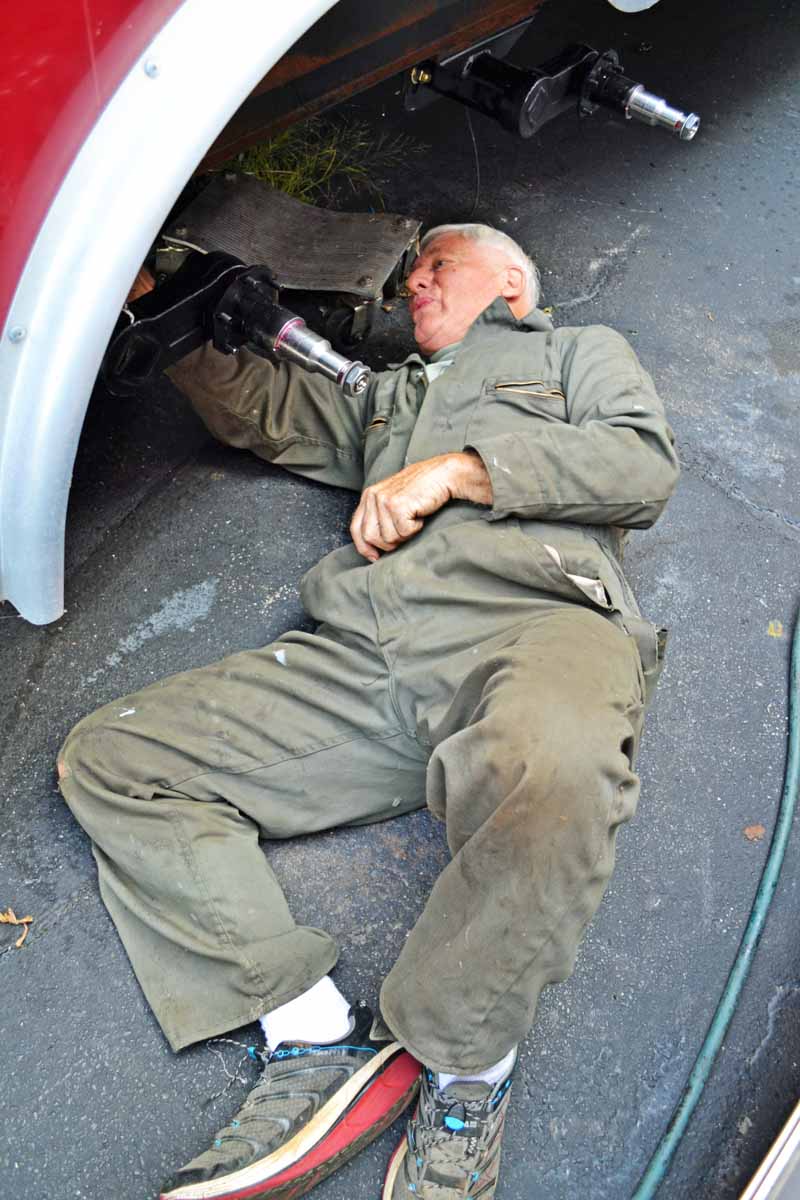
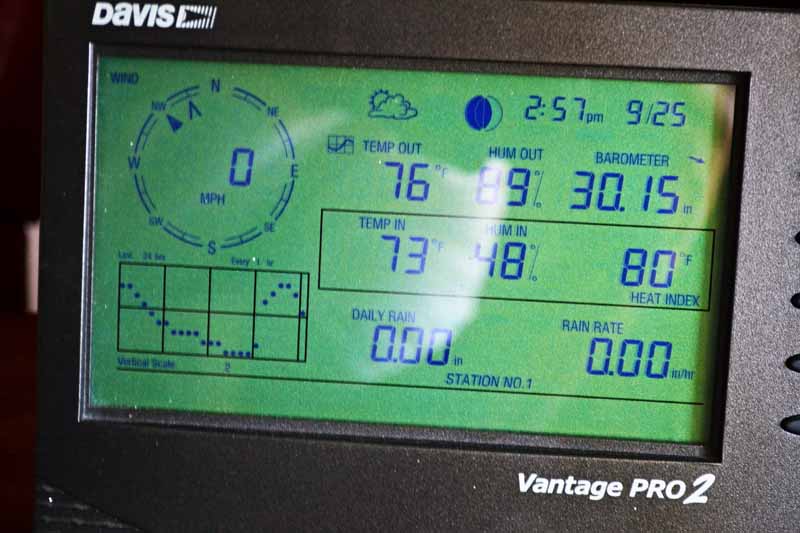
The first step was to remove the axles from the white trailer. This turned out to be extremely difficult. The bolts were rusted. We did not have a blue tipped wrench available. We had to put a breaker bar on one side and another on the other side, with a floor jack handle slide down over the handle of the breaker bar and use a 3 ton jack to unscrew each bolt (these were fine threaded bolts with an inch of thread and we could only turn the bolt about a quarter turn each time) This literally took hours. I should also mention this was a really hot day.
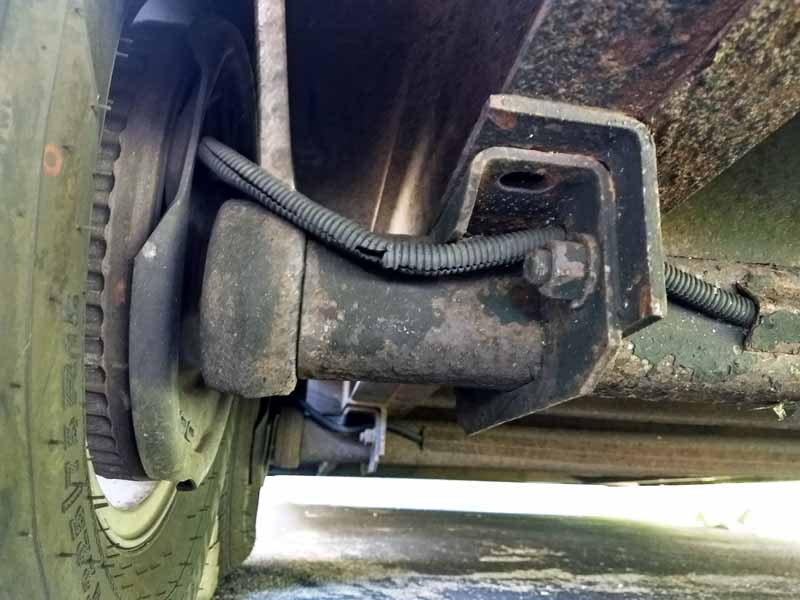
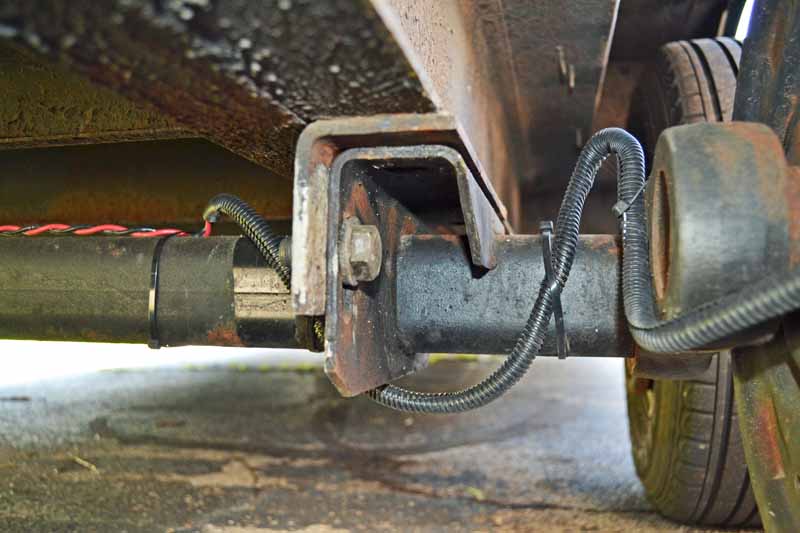
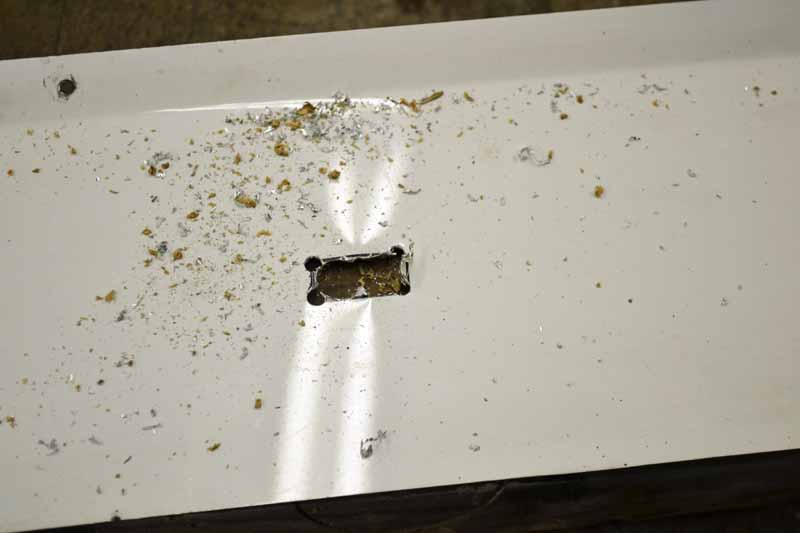
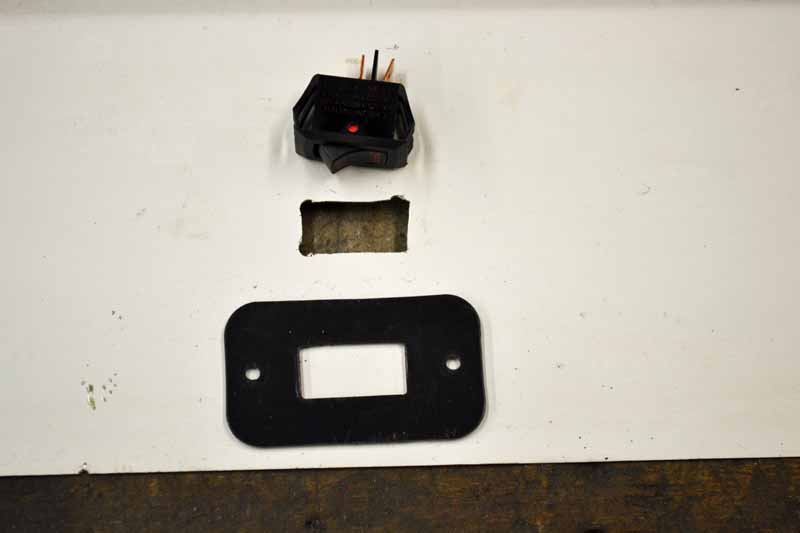
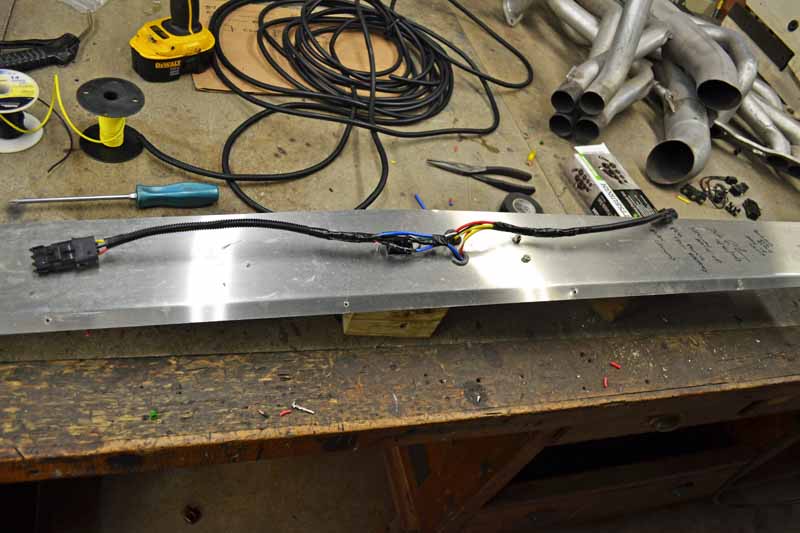
The electric brakes on the white trailer were wired in such a way that the wires to the brakes had to be cut.
What a stupid way to run the wires, right through the mounting flange.
The two axles were removed from the white trailer and the first axle was removed from the red trailer.
This is when we noticed that there were actually differences,
- The red trailer axles were ½ inch wider.
- The red trailer had (what we learned later) were “high profile pereches”, the white trailer had “Low Profile Pereches”.
- The idler arm start angle on the red trailer axles was 0 degrees and the white trailer had 10 degree raise.
The result was the white trailer now sits about two inches higher than it did before, which was fine with me. I always had problems with rear clearance. After the trip to Bowling Green, I decided I would order identical axles as the trailer rode better and the ride height was much better.
One thing to remember is all this information presented here is information that I have learned after the fact.
So the red trailer axles were stuck under the white trailer and the tires were bolted on.
After some minor clean up, the trailer was ready for the trip to Norwalk.

 Chapter 3:
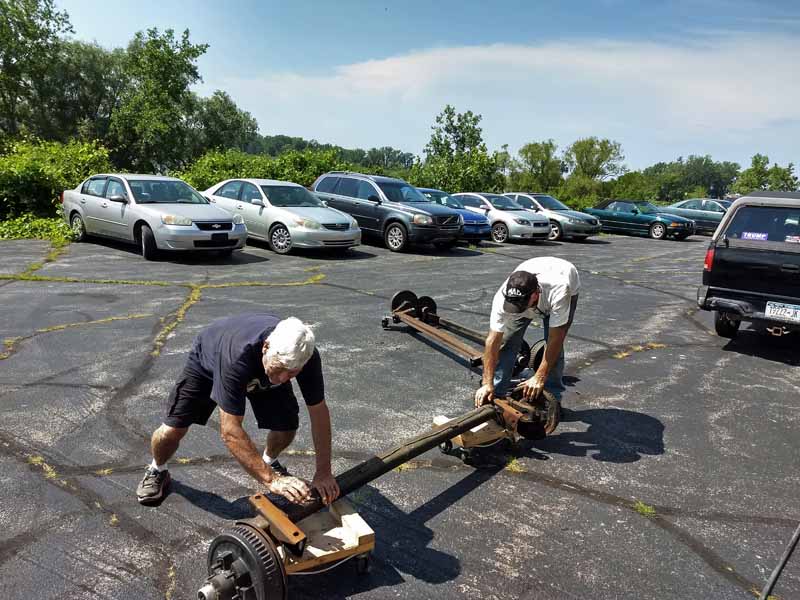
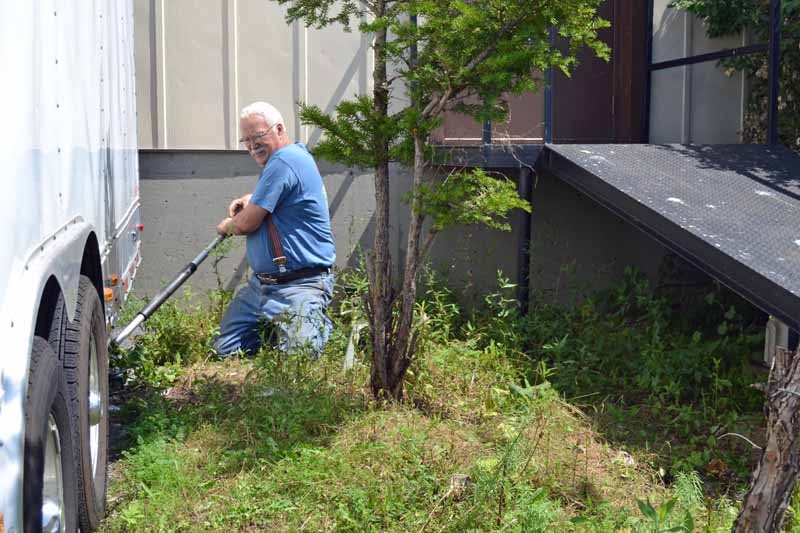
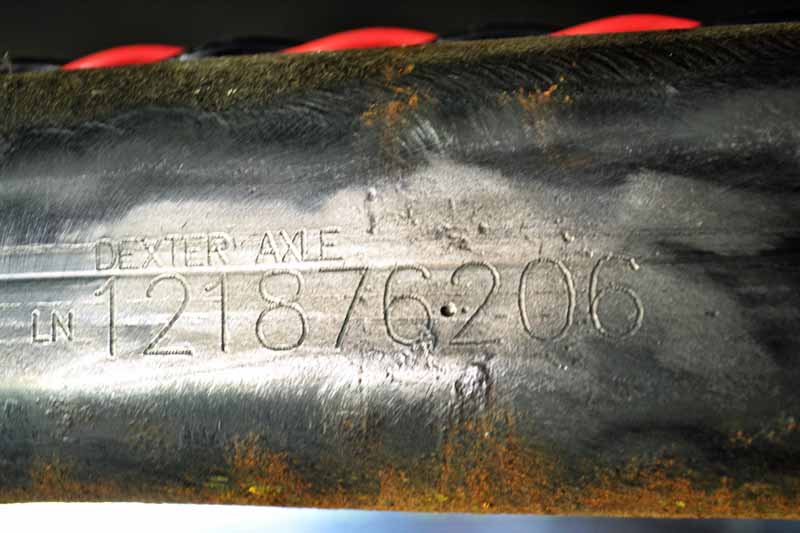
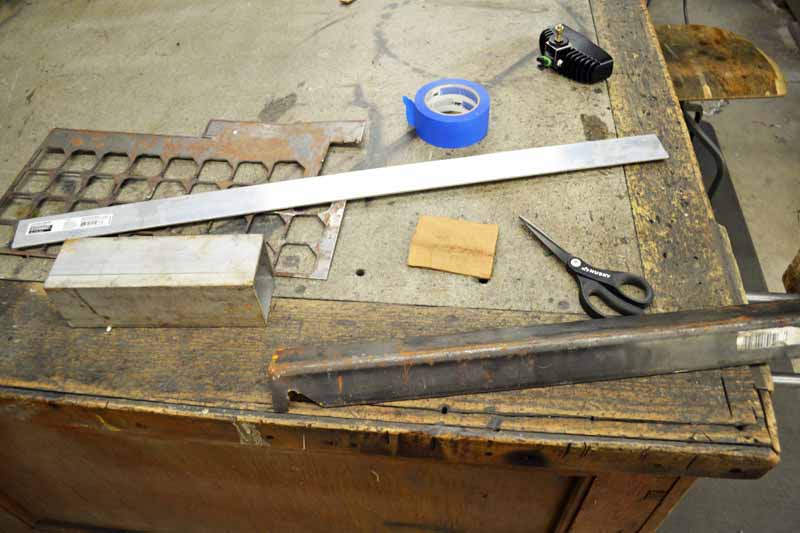
 Identifying and purchasing the correct Torflex Dexter axle. This turned out much more difficult than it really had to be. Phone support for Dexter axles really are only interested in one thing, the serial number on the axle. Finding that serial number was not easy. I am going to supply as much of the dimensions requested on the Dexter order form as I can.
These were two crazy people that were out in the sun trying to find that serial number and getting the dimensions to fill in the Dexter order form.
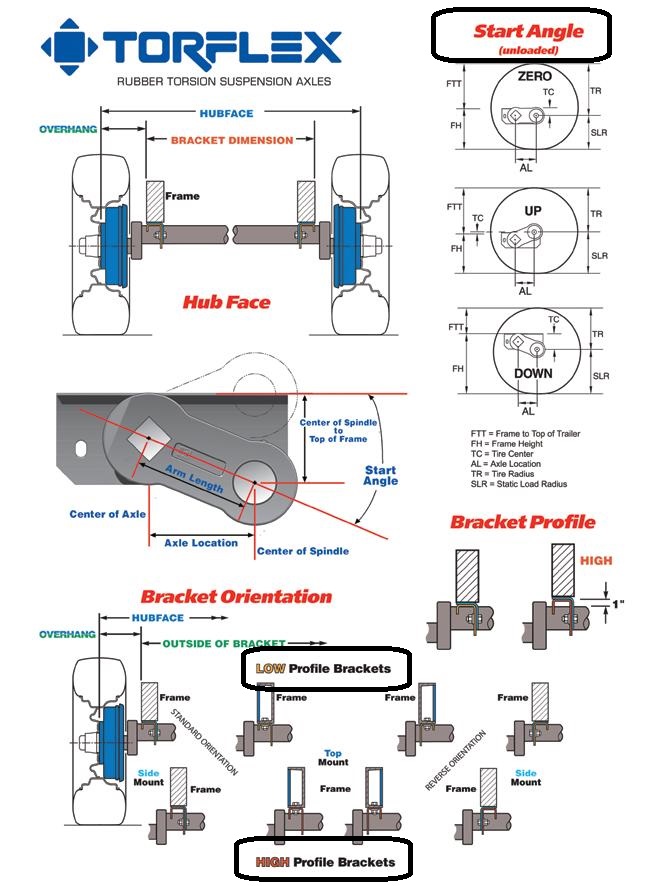
This is the order form
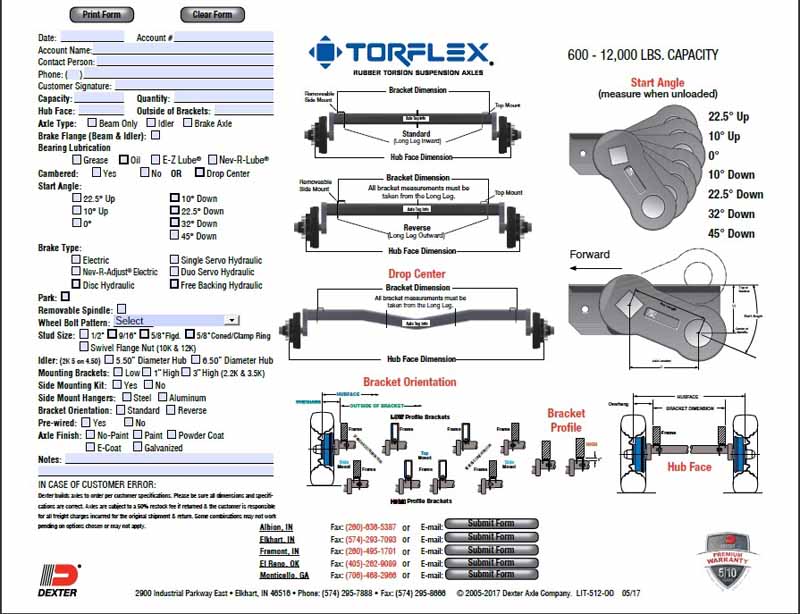
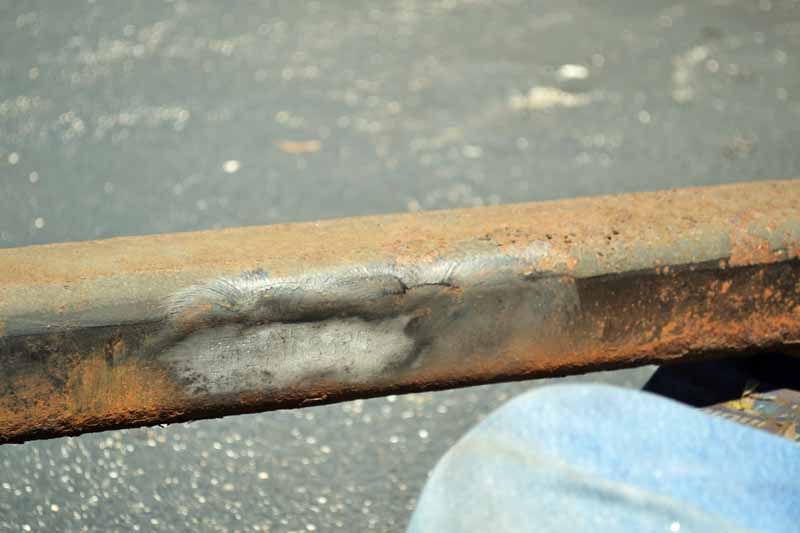
The very
first question on the form, I did not know how to answer. The axle looks straight across, but it is not. There is a bend in the center which gives some caster to the axles. All four of the axles have this bend.
This may be the answer to the question
Cambered?
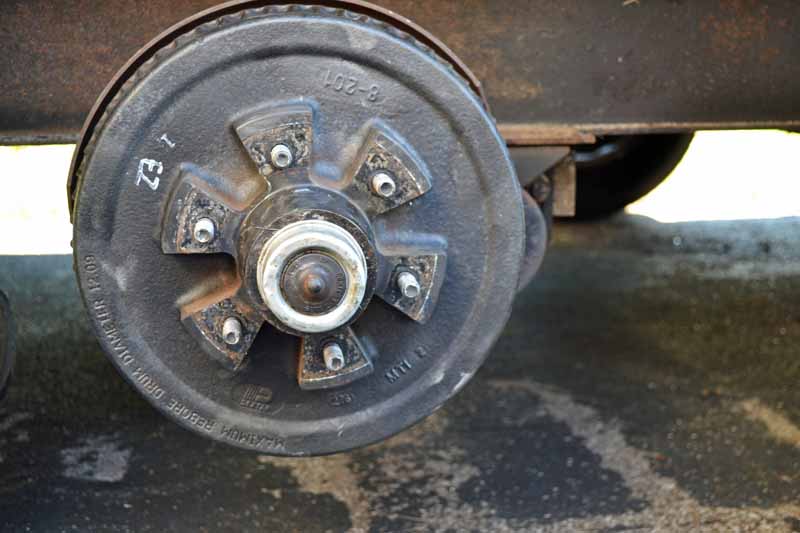
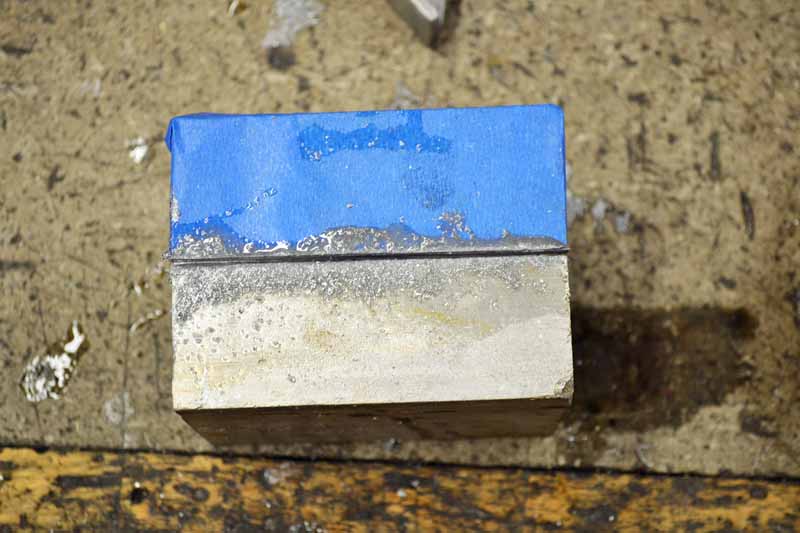
 Hub Face
 is another question I was not sure how to answer, I hope the pictures below suffice. The lugs are ½ by 20
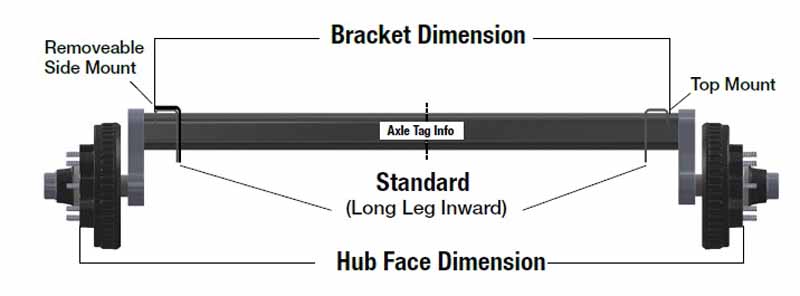
 Bracket Dimension
 (I think this is a
dumb measurement as it does not interface with anything, that part of the
bracket is not straight up and down, so
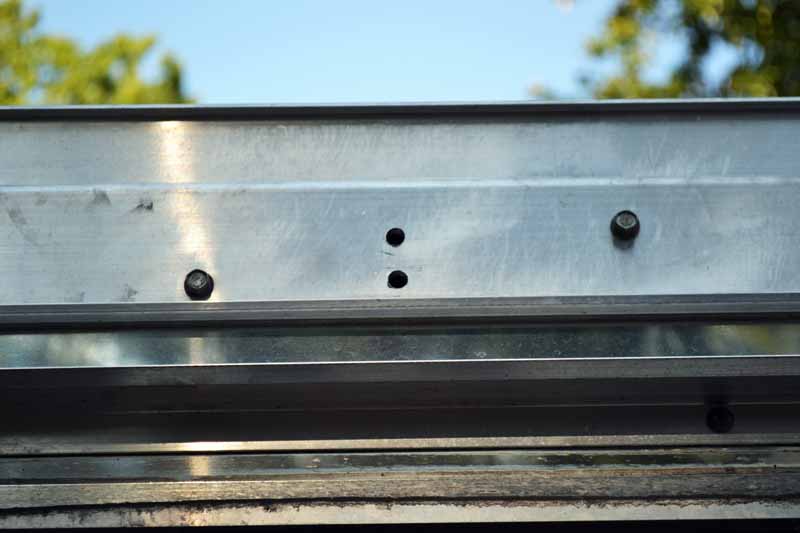
it is kind of a guess as to what it should be) Outside of the bracket measurement as depicted in the diagram is 72 ¾ inches. If you look carefully in the picture below you can see the bottom outside edge is slightly outboard from the top of the bracket, the bottom edge is where the measurement was taken.
They did not ask mounting surface to mounting surface which is a
tight 67 5/8 inches
Another question not asked but depicted in the diagram below is the Hub Face Dimension which is 93 5/8 to 93 13/16 (93 and 5/8 is preferred)
 Bearing Lubrication
 Easy Lube
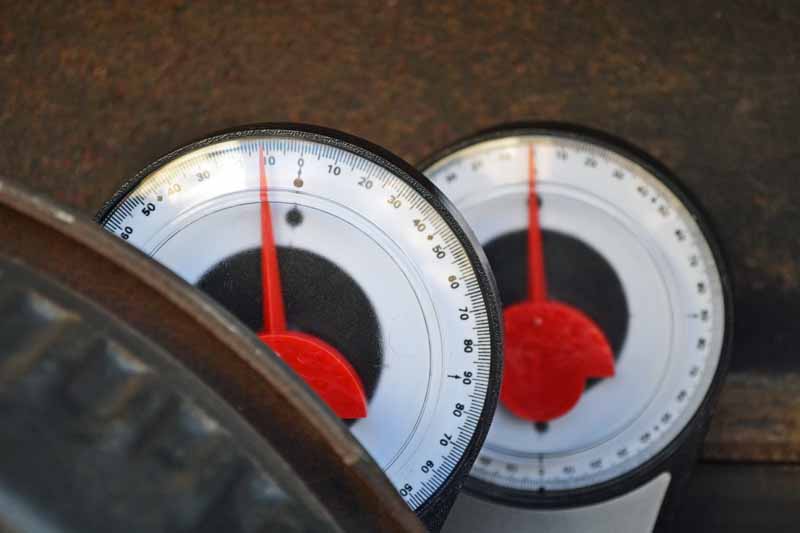
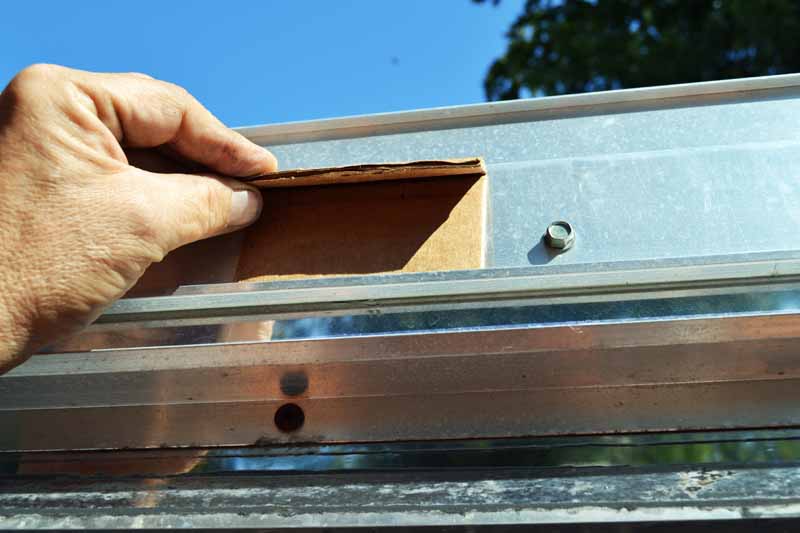
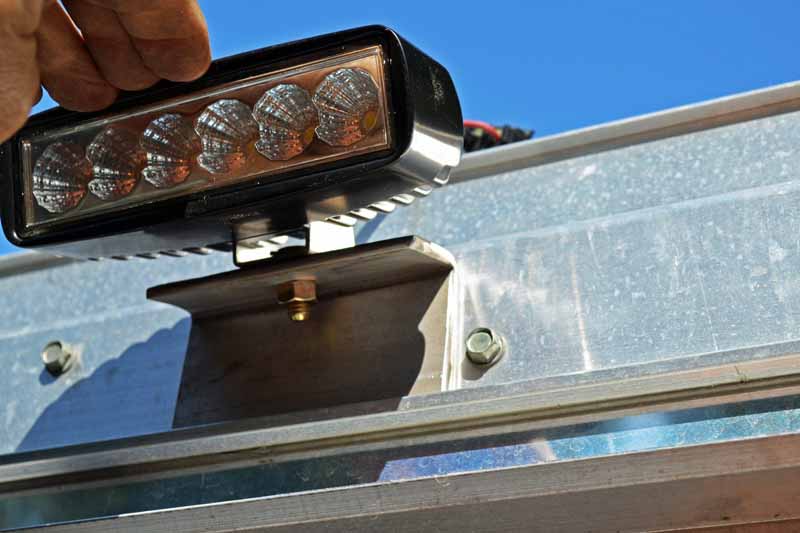
Start Angle. Time for a small rant. This order form wants the start angle. What they do not tell you is used axles (ones that have been under a trailer) take a 10 degree set.
What you see here is one degree finder setting on the frame and the second sitting on the idler arm on the axle.
Seeing this you would think that the idler arm has a 10 degree start angle, but that is incorrect because the axle has already taken a 10 degree set. If it was ordered this way you would get the wrong axle (
they do not give refunds for any reason).
This axle actually has a 0 degree start angle. I was lucky to discover this before placing my order.
 Mounting Brackets? 1” high
Bracket Orientation Standard
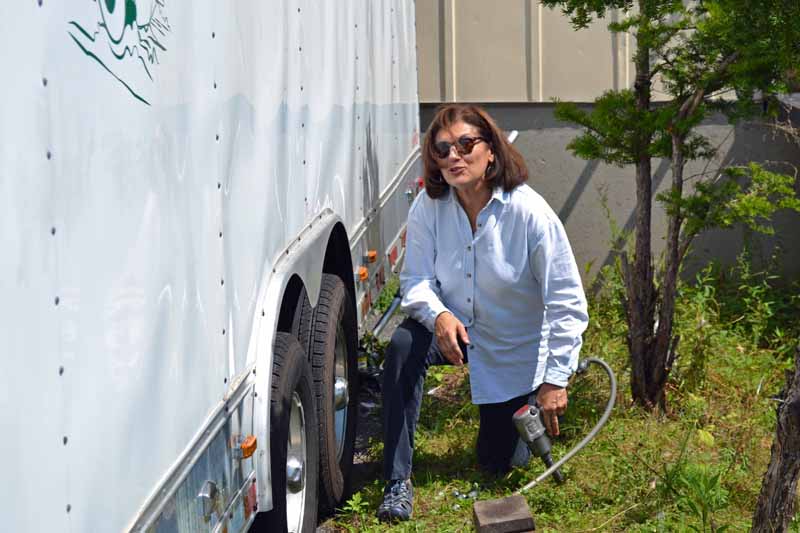
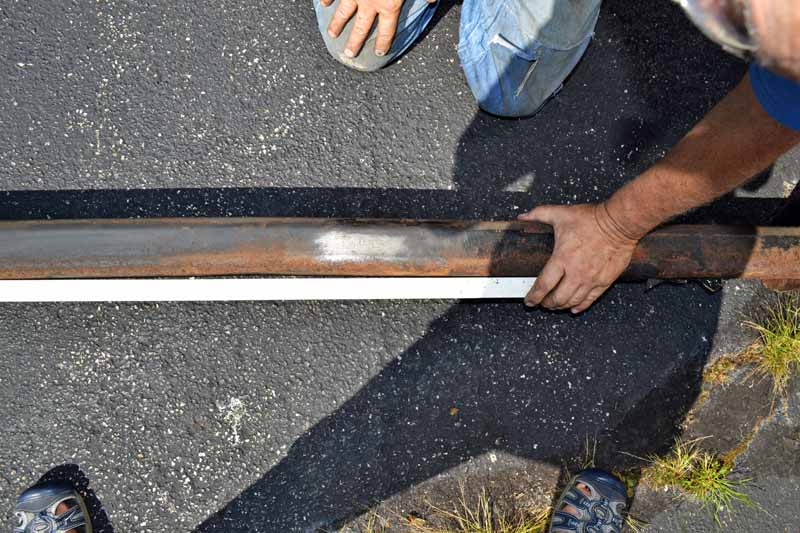
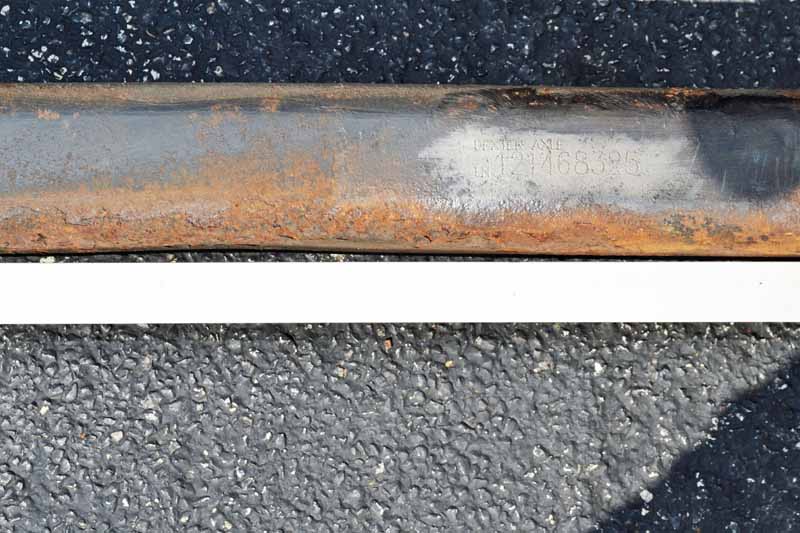
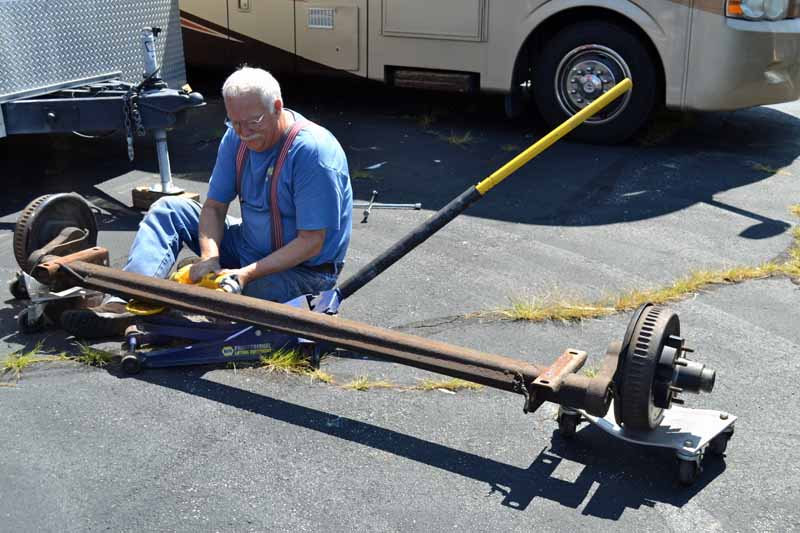
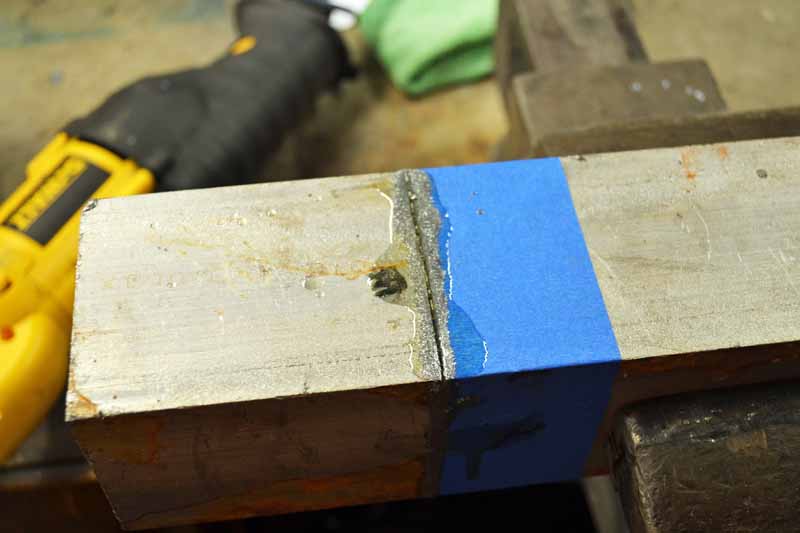
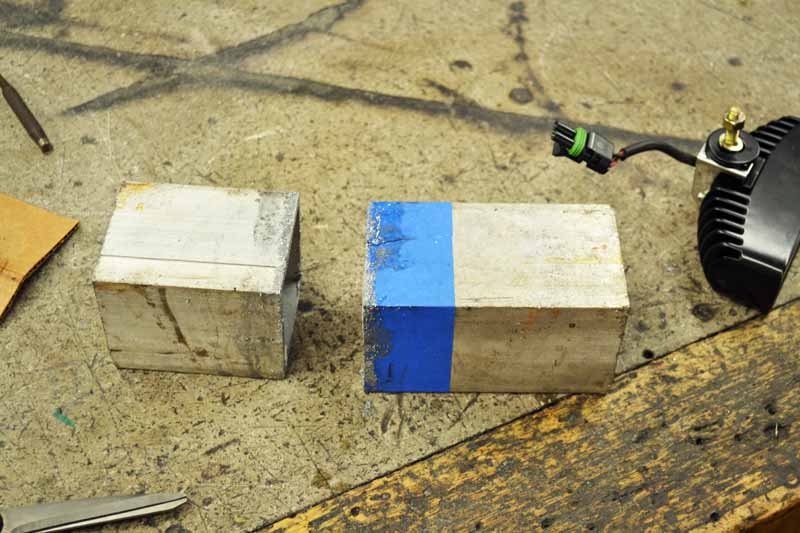
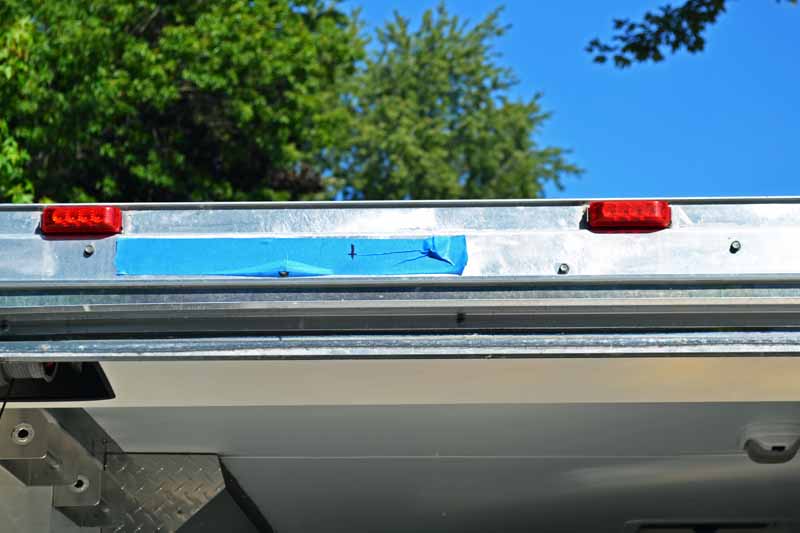
I decided to give one last attempt at finding the serial number. Anne and I dragged one of the old axles out from under the red trailer (the red trailer axles are now under the white trailer) and take a wire wheel to the whole back side of the axle.
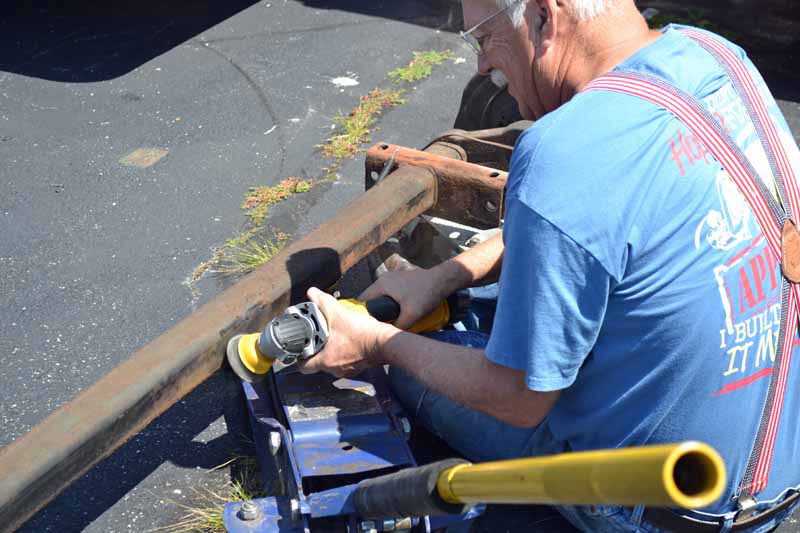
I did the same thing to the axles under the white trailer as those are the ones we want to duplicate. That way both trailers have the same axles and the ride height is what I was looking for. Inscribed on the axle on the left side is DD 5200 Lbs and just past the center on the curb side is the
serial number 121876206. This saved a lot of work and brought to light the error on the start angle.
I did a lot of calling around for prices. The cheapest price I found was from Red Neck Trailer sales at $499.99 and the most expensive I found was for $999.99. I was very lucky and found a friend that as a relative that could get the axles for less than half the price of the cheapest price I found. To be clear, I got two brand new axles for less than the price of the cheapest retail quoted price.
Chapter Four Steven and I made a run to pick them up
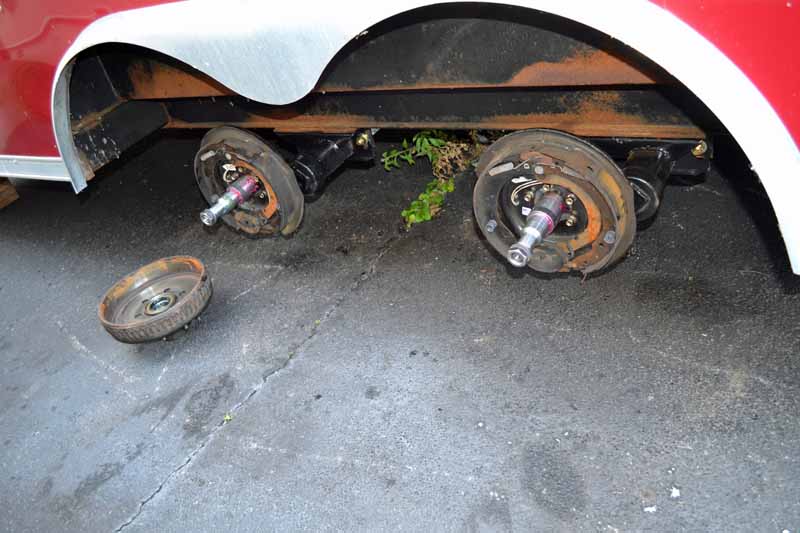
I kind of slid by the fact that the red trailer was left up in the air on jack stands with no axles (they are now under the white trailer) I bought the new axles without backing plates, brakes or drums.
So… the old axles from the white trailer had to be pulled out from under their resting place under the red trailer and the drums and backing plates removed (they had just been put on two years ago).

The new axles were reinstalled under the red trailer. The bolts went in easy as someone had purchased all new bolts.

The brakes and backing plates that had been removed from the old axles were installed on the new axles (again someone had provided new hardware, I wonder who that Santa was).
 I now have one perfectly good Dexter 5200 pound Torflex azle beam for sale. I even have a set of backing plates and drums to go with it. The second Dexter axle is questionable but you are welcome to it.
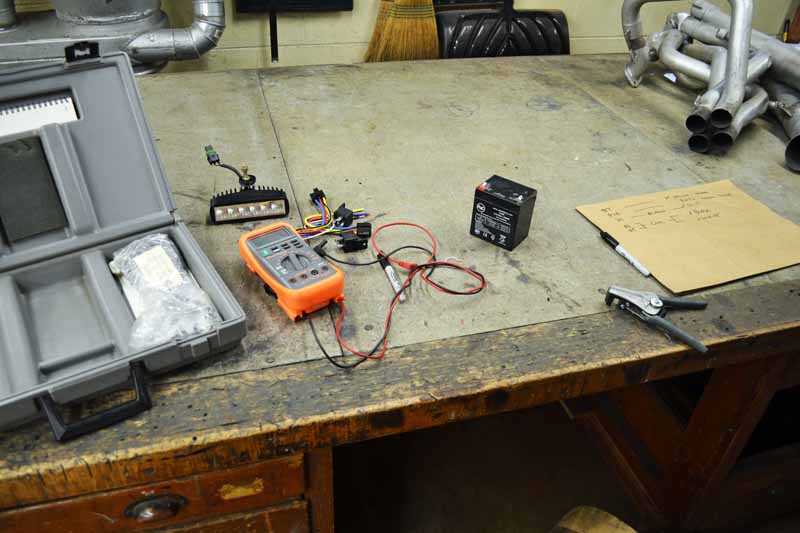
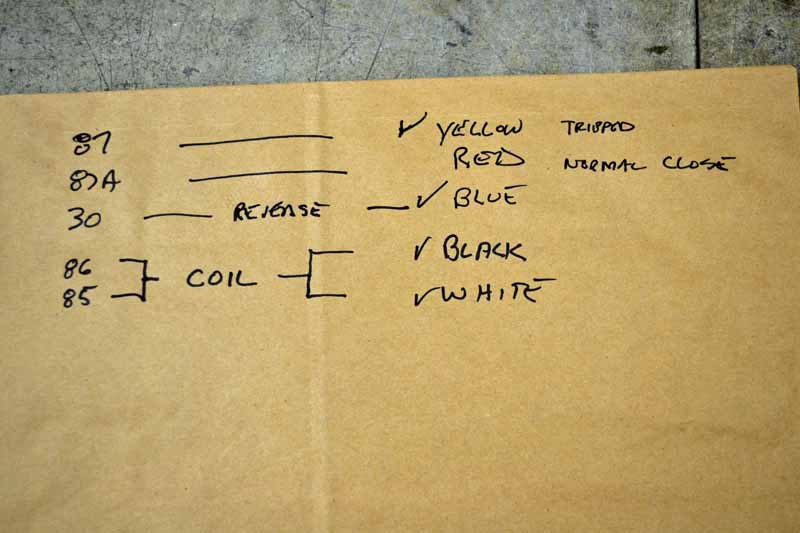
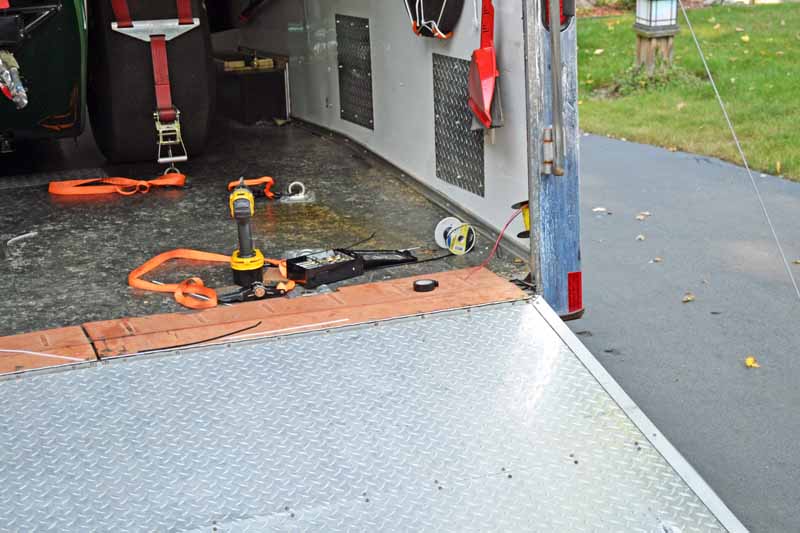
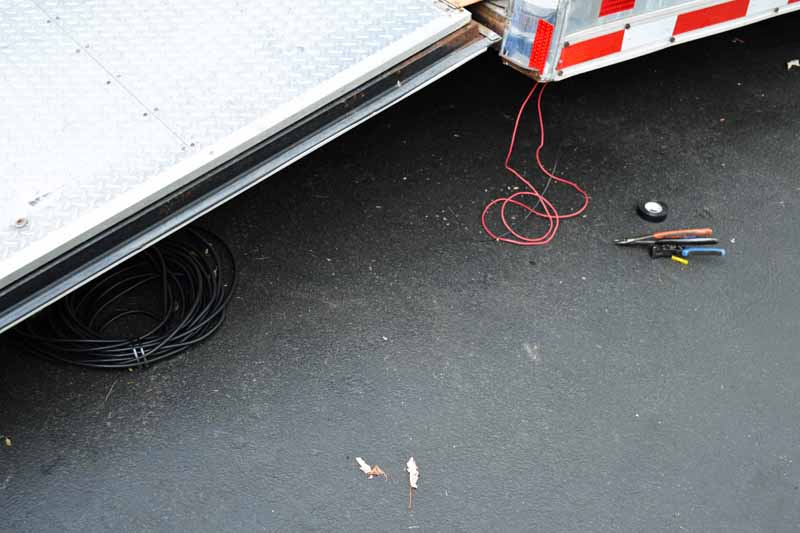
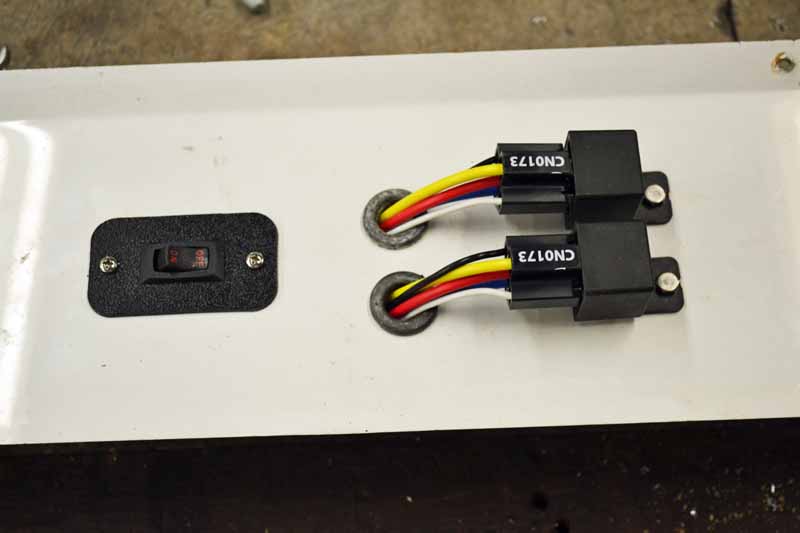
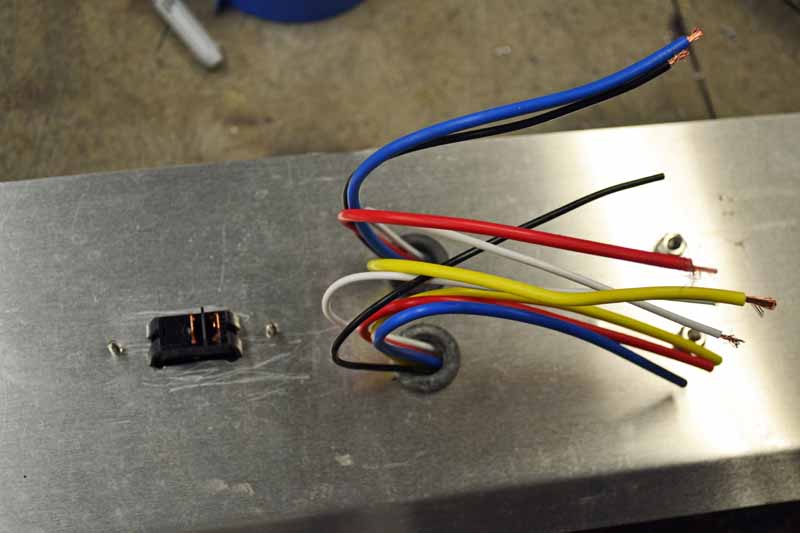
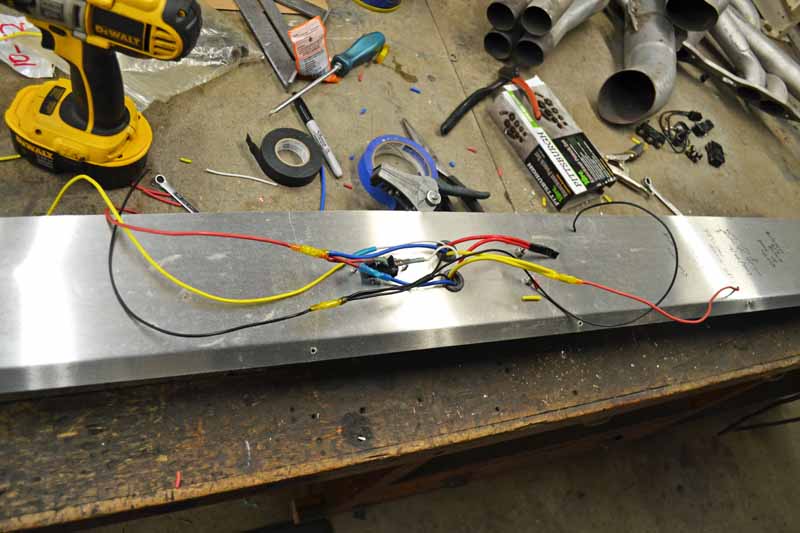
Time to install the wiring so the electric brakes work.
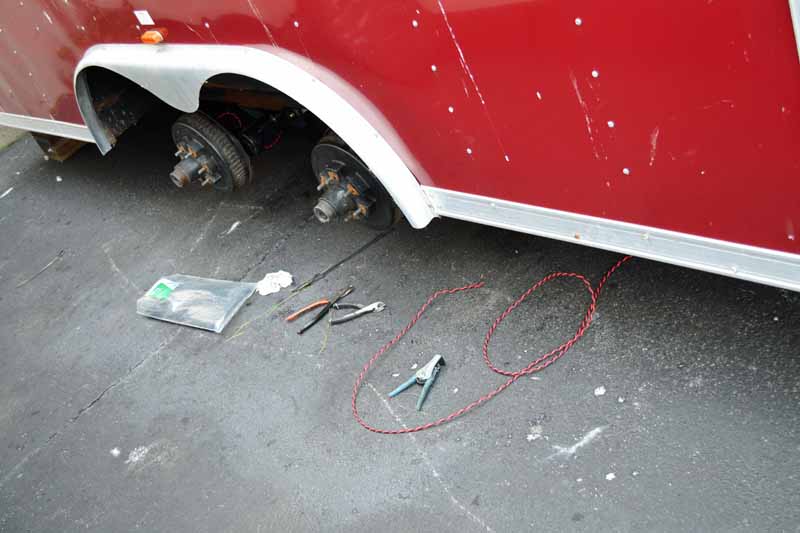
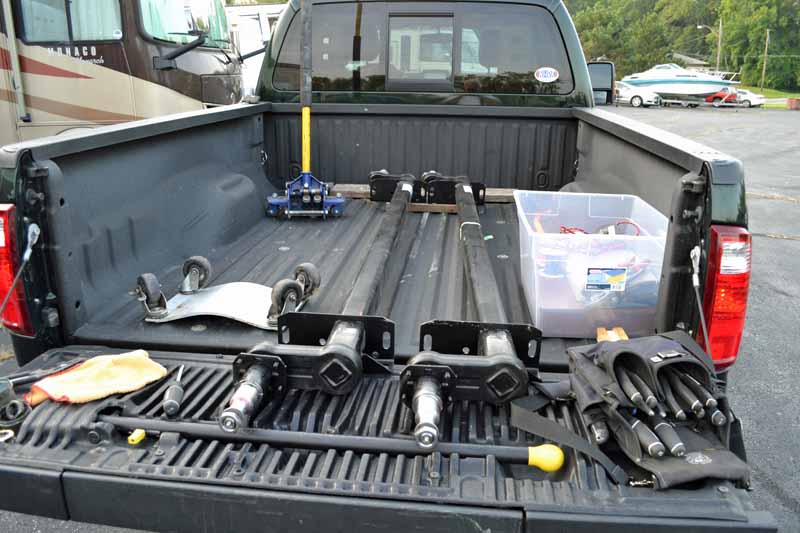
The finishing touch to this project, installing the wheels and tires.
And this project is complete. Now the red trailer is back in action once again after donating it’s axles to a good cause. I believe that operation on the trailer caused it no pain.


")


 Linear Mode


