NOTE: All Pictures in any of the Kit Kamper Projects are thumbnailed. Simply click on the image you wish to see bigger and a full size copy will be loaded.
-------
This is actually a project I had originally intended to do back when I first bought the KIT, but shelved when I priced out the PVC pipe I wanted to use for it.
I settled for using two rubbermaid totes with side locking removable lids with handles in them to store my dump tubes in the space between the front of the wheel wells and the camper. The downside was every time I wanted to empty the holding tanks I had to carry one or both of these buggers through my camper with the risk of a tote falling open and dumping dump tube all over my floor a very real possibility.
The project was recently resurrected when Mjgcamper from NATCOA offered me a 10' piece of 4" PVC that he had leftover from a building project.
Since I couldn't beat the price, I swung by Mjg's, hacked the 10' piece of pipe into two 5' pieces and hauled it home. Once home, I popped over to Lowes and picked up the cleanout fittings and joint sleeves needed to make the screw caps and either end and glued it up.
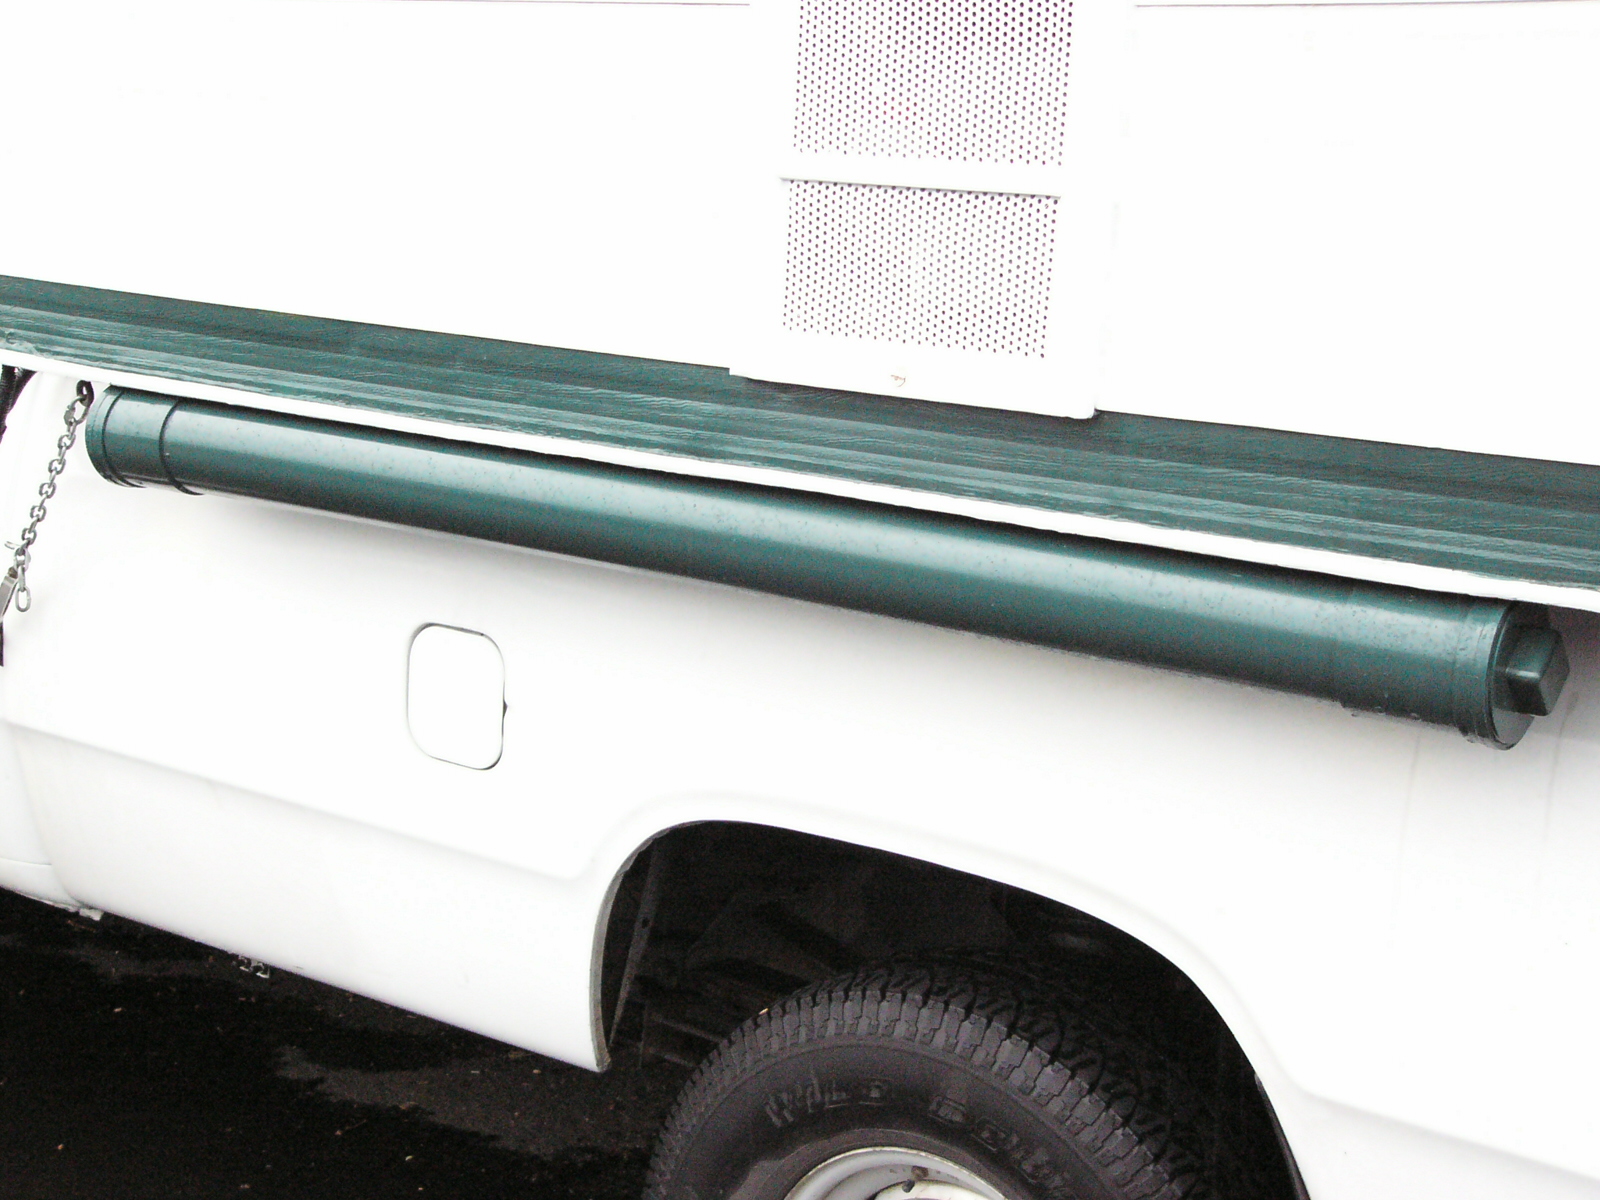
Once the glue was set, I used up a couple of half empty rattle cans of Dark Hunter Green paint I had left over from painting the KIT last year and then drilled two holes in each, set back from the screw openings and directly through the center of the joined sections of the joint sleeve and the tubing.
Through each I threaded a left over 1/4" lag bolt that had originally been used to hold the front jacks on the camper. These bolts are about three inches long and required a lot of patience and a ratchet to drive them into place. Their extra length gives them more than sufficient bite to hold the tubes in place and resist any abuse by yours truely.
This is the end result.
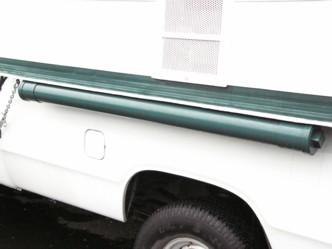
My primary 10' tube with the 90 degree elbow and adaptor plate for use with most RV hookups is stored in the passenger side tube. Its adaptor plate is stowed in a plastic walmart bag that is tied off and stuffed in the propane compartment atop one of the tanks.
The spare 10' extension hose is stored on the drivers side.
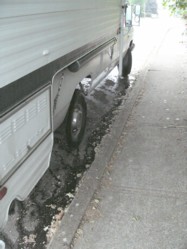
No more carrying my slinkies in their totes through the camper. When I unload, I no longer have to load and unload their totes from the truck bed, they simply go along with the camper.


 Linear Mode


