


I have worked in the automotive service business most of my life. RV's are somewhat new to me, but there are many similarities with them and their cousins... cars and trucks. I am a long time automotive enthusiast and hope to help others by providing any info I can. In the following blogs I will attempt to describe repairs and maintenance in terms that everyone can understand.
Thanks for reading my blog!

Resealing and re-coating my RV's EPDM rubber roof
Tags liquid roof, liquid rubber, roof, rubber
When I purchased my pre-owned class A, I preformed what I thought was a thorough pre-purchase inspection. The one area I could have done better with was inspecting the rubber EPDM roof. I was not prepared to climb up and walk around on the roof, so I climbed as far as I could and looked across the roof. Seemed ok, I saw a few black spots in the distance, but figured it was probably mold or discoloration that would clean off.
After I brought the RV home, I purchased rubber roof cleaner and found the spots were actually thin spots in the white part of the EPDM rubber. My heart sank as I thought I would now need to replace the entire roof membrane (big $$$)
After researching online, I found a few options. An inexpensive acrylic coating that requires a primer coat, and a more expensive EPDM coating called Liquid Rubber and no primer coat required. I opted for the Liquid Rubber because it is basically the same thing as the original roof material. I purchased a 5 gallon kit, enough to cover appx 240 sf of roof for about $300 from here.
Looking at a piece of new EPDM rubber, the cross section appears to be 2 different materials mated together as one. The bottom layer is black and appears to be some type of rubber weave material. The top layer is white. They appear to be appx 20 mils thick each for a total of 40 mil thickness.
I decided to set aside a day to remove vent covers, a/c covers etc. and thoroughly cleaned the roof so I could get a good adhesion. I also removed any bad spots of Dicor sealant and reapplied as needed. I then used a solution of 2.5 gallons water, a cup of laundry detergent and a cup of rubber roof cleaner. Using a brush attached to a broomstick, I scrubbed and cleaned the roof until all the loose flakes came off and the remaining white was bright and clean. After I was done I noticed allot more black was showing now. Oh well, the worst thing that could happen is I have to replace the EPDM sheet material anyway. (But I didn't have to)
Next I was ready to apply the coating.
I kept my eye on the weather forecast because the directions say let cure at least 20 hours before getting wet. I then recruited my son to help. I highly recommend 2 people do this job.
First mix the catalyst into the Liquid Rubber. This is done with a 5 gallon paint mixing tool attached to a corded drill. Tip, leave drill turned off and mix up and down, then turn on drill to mix as usual. The material is extremely thick. I measured a 42 square foot area at the front of the RV so I could calculate the proper spread rate of 1 gallon per 42 sf. We started by using small diameter paint rollers to apply the coating to the outer sides of the roof top. Then I poured 1/2 gallon of Liquid Rubber towards the front section and used a squeegee attached to a broomstick to distribute the material. I started out with somewhat of a thick coat then used the squeegee to pull the material back and thin it out, until I had the full 1 gallon applied to the 42 sf section of roof top. While I was squeegeeing the product onto the roof, my son was using a paint roller to go over everything I had done. This is necessary to remove any trapped air bubbles and even out the thickness of the product. We continued this process 1 gallon at a time and made sure to overlap all seams so that the coating became one continuous coating from front to rear. This took us appx 3 hours for a 30 foot section of roof, non stop, no breaks.
Now for the easy part, time to allow the coating to set up and cure. After about 24 hours in 70 degree sunshine it started to set, but I did not feel comfortable walking on it for another 3 days. During this time the rubber roof swells and bubbles up in areas and will shrink back down after a week or 2. This is normal and is nothing to worry about.
Overall I am very happy with this product. The roof looks like new and virtually should be as good as new.
Edit; Sorry I was too lazy to run down the ladder to get camera for before shots, but believe me, they would have been ugly. Roof was appx 50% black (white coating gone) before coating was applied.

Total Comments 14
Comments
-

 Thanks for the great description on the job. Sounds like a good project that I might need to do on my coach at some point in the future.
I don't suppose you had time to take any pictures of the process?Posted 11-01-2010 at 04:00 PM by Nick-B 
-
 I knew I should have taken before and during pics of the roof. I have some after shots I will post soon. Next project I will have the camera ready!
Posted 11-01-2010 at 04:09 PM by Wanabee FTer
-
 Howdy,
THATZ A VERY GOOD JOB!! HOW MUCH FOR A 34'
Georgie Boy?? I don't know what mine looks like;
I can't get up there....Congratulations on a job well done!!!
Posted 11-08-2010 at 05:17 PM by butterbean
-
Thanks butterbean,
It's always nice to do something for the first time, then stand back and say, "Wow, I did that?"Posted 11-08-2010 at 06:00 PM by Wanabee FTer
-
Wow you did a GREAT job !!!!
I need to recruit my son to do this also.
I think I may do it over the upcoming Thanksgiving break he has from school.
Do you have any more tips ??Posted 11-13-2010 at 11:44 AM by Gadgetman
-
Here's a link to Liquid Rubber's web site with an informative video
Posted 11-13-2010 at 03:30 PM by Wanabee FTer
-
Thats awesome! I'm happy for you that you were able to save some good money restoring the roof yourself
 I think one of the most important things was taking into account the weather. Had you not done that it would have been time wasted. Good thinkin'.
Posted 03-08-2011 at 11:27 AM by classysarah8
-
I have a 01 Discovery. I've had to deal with a few leaks here and there. Mostly seams. My roof is starting to show a few small dark spots, and I'm preparing to aply the same coating you used. Your info sold me. Thanks for all the info. MLB
Posted 03-08-2011 at 05:37 PM by Mariolbatt
-
I resealed my EPDM roof on my trailer last year with the liquid resealer from Dicor (the same folks who make the rubber roof) and I am pleased with the results. It is important to follow the directions for cleaning prep, application and weather temps for curing. I am pleased with the results and would do it again, as needed, in the future.
Posted 04-22-2012 at 05:12 PM by Chris-OR
-
Could you tell me if the Liquid Rubber dries with a smooth surface and is it a gloss or matte finish once dry.
Thank youPosted 05-05-2013 at 11:21 AM by FX2Crazy
-
If you use the squeegee first then use the shortest nap roller you can find to even out the LR it will be smooth. The roller I used was 3/8" nap which produced more of a textured finish. I wish I had used 1/4" nap.Quote:Originally Posted by FX2Crazy
 Could you tell me if the Liquid Rubber dries with a smooth surface and is it a gloss or matte finish once dry.
Thank you
When it dries it has somewhere between a satin and gloss finish.Posted 05-05-2013 at 01:00 PM by Wanabee FTer
-
The only thing is its only has a 5 year unconditional warranty?
Posted 06-11-2013 at 09:18 AM by rvroofer
-
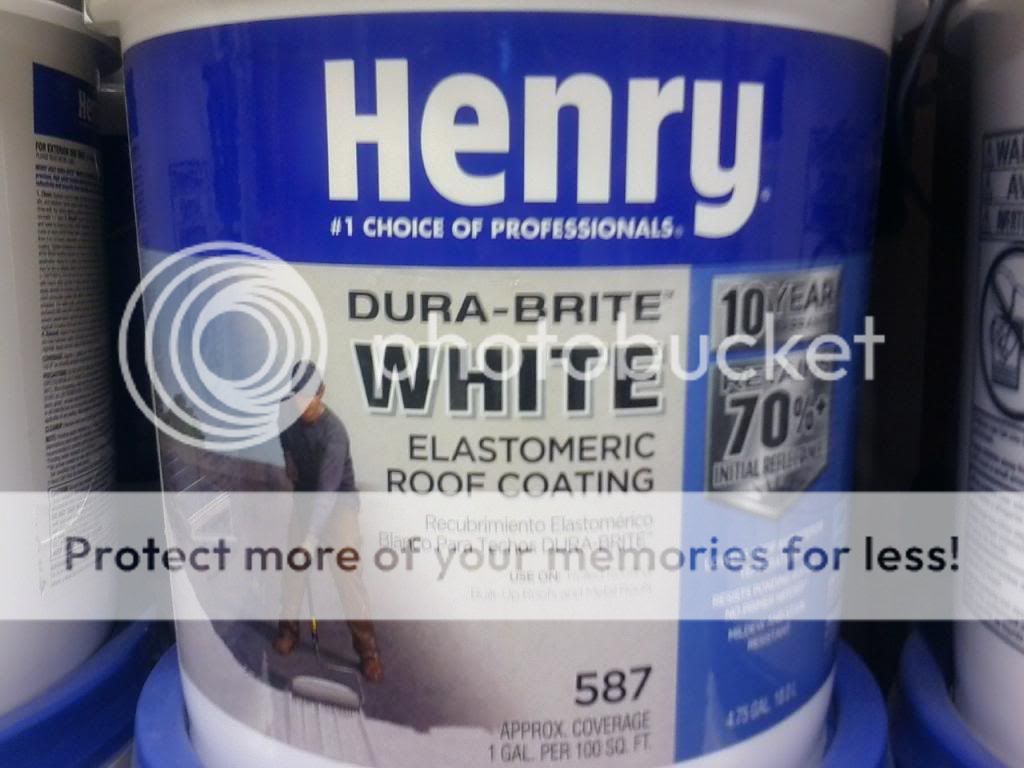
 i found this stuff by Henry (Elastomeric Dura-Brite) at Home Depot and wondering if anyone has used it. it's about $90/5 Gal.
Posted 06-28-2013 at 01:52 PM by MoHoGuy
-
[COLOR="Navy"]The Henry Dura-Bright product has reviews that make me uncomfortable and will prevent me from buying.
[url=https://www.homedepot.com/p/Henry-4-75-Gal-587-White-Roof-Coating-HE587871/202091022#customer_reviews]Henry 4.75-Gal. 587 White Roof Coating-HE587871 - The Home Depot[/url]
Henry requires 2 coats where EPDM does not. Price of Henry is near the same. Thickness of rubber is thinner with Henry 1 gal per 100 sq ft where EPDM is 1 gal per 42 sq ft. Henry has reviews of material having poor adhesion and problems with water. Product allows moisture to escape - but if water can escape thru the dried coating then can't mositure enter in ponding areas?
I cast my vote for EPDM and plan on applying it to my roof with 10 year warranty. It requires only one coat and is self leveling. The product seems more versatile
and does not require special cleaning after application.[/COLOR]Posted 02-16-2015 at 02:35 PM by Doggy Daddy


