 |
|
 01-04-2021, 09:19 PM
|
#15
|
|
Senior Member
Join Date: Jan 2020
Posts: 1,867
|
Quote:
Originally Posted by tanman32225

if I remember correctly the sparkplugs are located in the valve covers much like a old Hemi head were. As stated above follow the plug wires. The plugs are way down in the covers so you need a sparkplug socket with a rubber boot inside to grab the plugs and a fairly long extension.
|
Your memory isnt remembering correctly. 
__________________
2017 Fleetwood Bounder 36Y
|

|

|
 |
Join the #1 RV Forum Today - It's Totally Free!
iRV2.com RV Community - Are you about to start a new improvement on your RV or need some help with some maintenance? Do you need advice on what products to buy? Or maybe you can give others some advice? No matter where you fit in you'll find that iRV2 is a great community to join. Best of all it's totally FREE!
You are currently viewing our boards as a guest so you have limited access to our community. Please take the time to register and you will gain a lot of great new features including; the ability to participate in discussions, network with other RV owners, see fewer ads, upload photographs, create an RV blog, send private messages and so much, much more!
|
|
01-05-2021, 04:03 AM
|
#16
|
|
Member
Join Date: Dec 2020
Posts: 57
|
thank you kindly ... if only i could find a decent knowledgeable mechanic on this type of vehicle near where i reside ... in the UK there are very few guys or girls who own of these vehicles or who know how to do these projects i now need to tackle ...
|
|
|
|
|
01-05-2021, 04:06 AM
|
#17
|
|
Member
Join Date: Dec 2020
Posts: 57
|
Quote:
Originally Posted by US1
Your memory isnt remembering correctly. |
apologies ... !! i have only just seen your previous quote
i'm still also navigating this site !! thank you kindly ... i really hope to come back with a positive success response - this is my first time attempting any of this on the Winnebago (although i managed to supply and fit the toilet, sink and other minor cosmetics on board) ....
|
|
|
|
|
01-05-2021, 04:11 AM
|
#18
|
|
Member
Join Date: Dec 2020
Posts: 57
|
memory
Quote:
Originally Posted by US1
Your memory isnt remembering correctly. |
apologies ... !! i have only just seen your previous quote
i'm still also navigating this site !! thank you kindly ... i really hope to come back with a positive success response - this is my first time attempting any of this on the Winnebago (although i managed to supply and fit the toilet, sink and other minor cosmetics on board) ....
|
|
|
|
|
01-05-2021, 04:18 AM
|
#19
|
|
Member
Join Date: Dec 2020
Posts: 57
|
Cheers Guys ... and Girls
thank you to you people who didn't take the piss out of me for not knowing where the spark plugs are ... i've changed sparks on a car before, maybe over 20 years ago and that, i remember, was easy ...
i reside in the NorthWest of England so finding parts, mechanics (who are knowledgeable) and don't ruin other parts of my vehicle (stories that have bought me to want to 'do it myself') .... are challenging
for those of you who ridicule me, you are very judgmental in the first instance and that is everything that is wrong with our world today, unkind and unfair ... i am a 50 year old woman with great skill and ability in many fields that would be alien to you, mechanics, obviously, is not one of them, but i'm going to attempt these projects on my Chevy Winnebago Motorhome and I reach out to you for support and assistance
make fun if you want, it is more indicative of the unkind person you are than the .... 'daft idiot' i am for not knowing
|
|
|
|
|
01-05-2021, 04:44 AM
|
#20
|
|
Senior Member
Thor Owners Club Ford Super Duty Owner
Join Date: Jul 2011
Posts: 3,796
|
On an engine from 10 years into the last century you'll need to search out a pensioner as the current generation (regardless of which side of the Atlantic they might be) are a bit too reliant on electronics, that a GM/Chevy 454 doesn't have, to help figure out what might be wrong. The good ones can just listen to the engine idle or smell the exhaust to get a general sense of what needs attention first.
Search around in You Tube for pointers regarding basic tune up needs and slightly deeper preventative maintenance such as a transmission drain and fill or changing belts. Easy stuff that is even easier if you're not jumping in without some baseline knowledge of what you're going be doing.
__________________
2006 Hurricane 31D built on a 2006 Ford F53
|
|
|
|
|
01-05-2021, 05:02 AM
|
#21
|
|
Senior Member
Winnebago Owners Club
Join Date: Dec 2015
Location: Jacksonville, Fl
Posts: 3,542
|
Quote:
Originally Posted by iamdogstar
make fun if you want, it is more indicative of the unkind person you are than the .... 'daft idiot' i am for not knowing
|

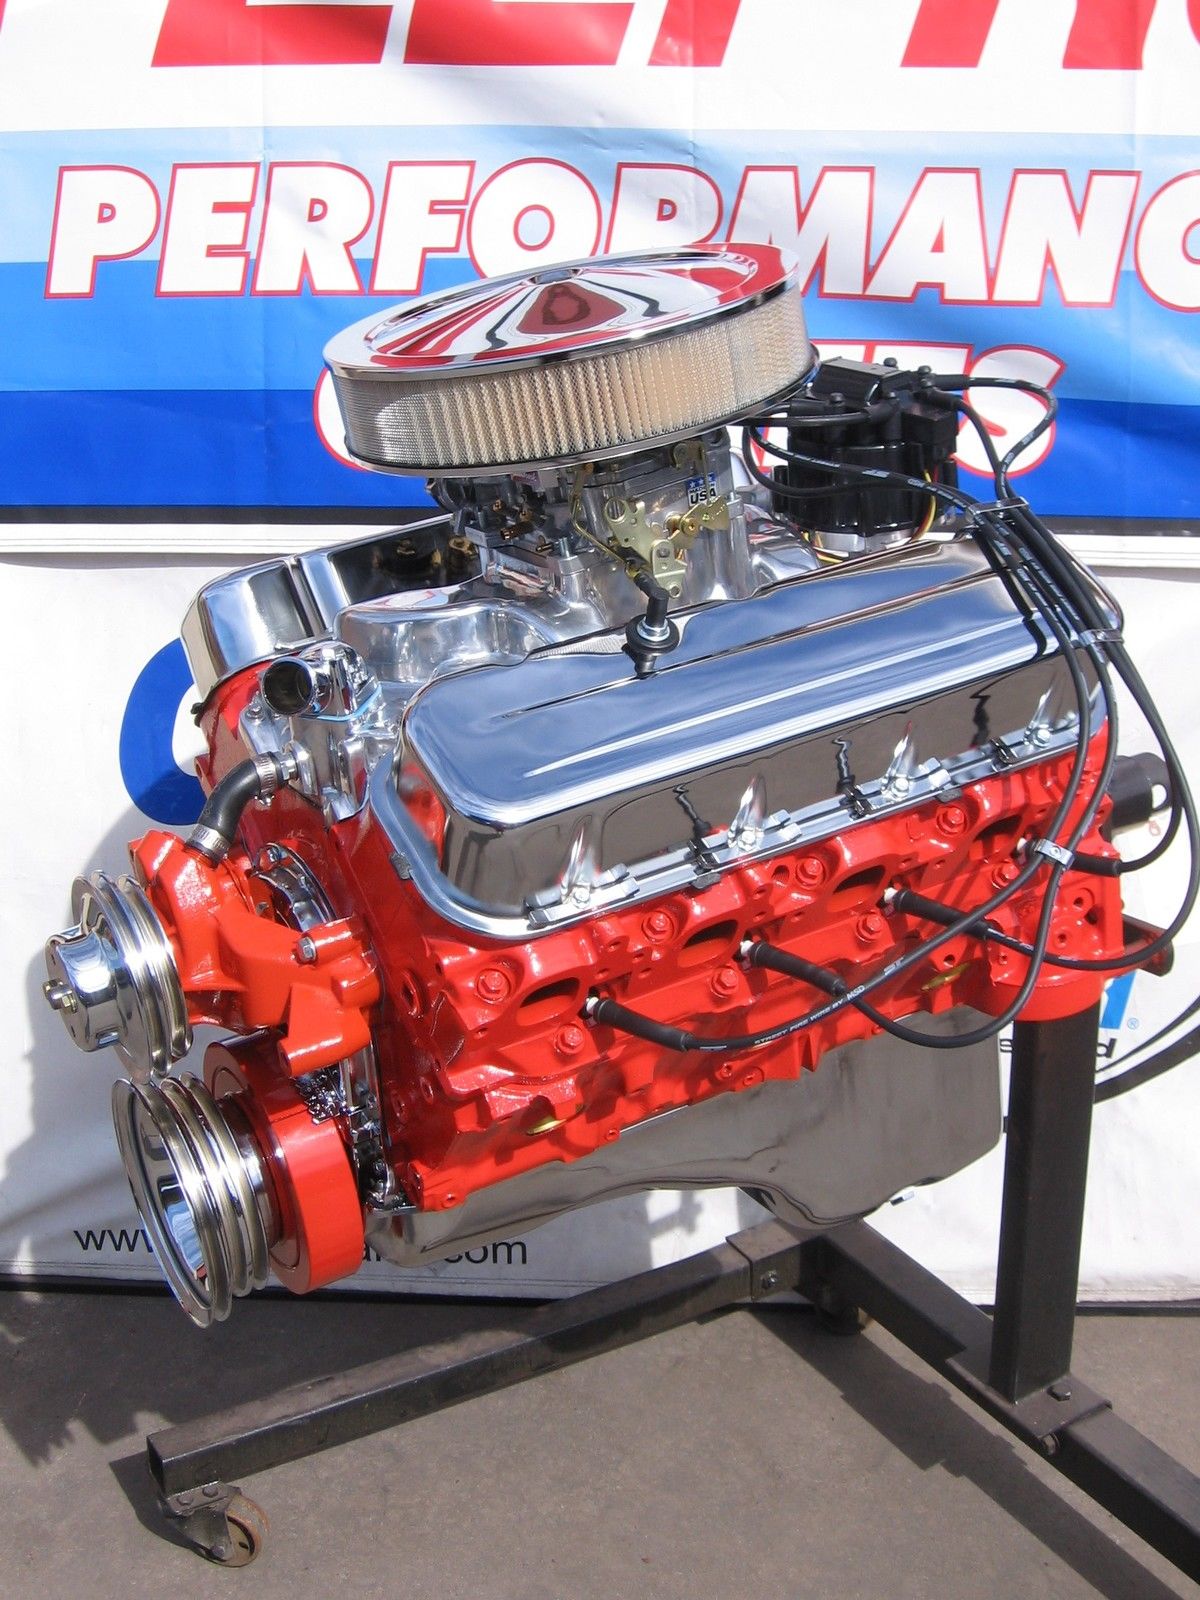
You may not be able to actually SEE the spark plugs due to limited access because of the dog house (engine cover) inside the RV. You're about going to have to do it mostly by feel. In the attached picture I've drawn red lines to the two plugs that are easily seen in the picture. And even then you can't actually see the plugs, just the wires and the covers that go over the plugs.
Find the distributor on the top of the engine, it'll have 8 plug wires coming out in a circle around the edges and 1 wire in the center. Follow the 8 wires to their respective spark plugs. There are four on each side and they are all directly across from each other. Just feel around on both sides of the engine until you're comfortable you've found them all.
Do NOT remove more than one plug wire at a time, that way you don't have to worry about putting the wires on the wrong plugs. If you're replacing the wires at the same time then do that wire at the same time you replace the plug.
Remove the plug wire from the plug (to remove the wire pull on the cap over the plug, not on the wire itself). Remove and replace the plug, put the wire back on - make sure it snaps into place, THEN move on to the next plug and repeat the process.
When putting the new plugs in be careful not to cross thread the plug in the hole. You should get at LEAST one easy full turn on the plug using just your fingers before it's starts to tighten up. If it tightens faster than that you're probably cross threaded, back it out and try again. Because you won't be able to see into the hole you'll be doing this totally by feel. Before you take out the old plug, after you've taken off the wire, feel around the plug to get a good idea of it's angle relative to the engine, that will help you get the next one started at the proper angle so that it doesn't cross thread.
When you remove the first plug put it side by side with the replacement to make sure they are the same size and shape. If not go get some that are. In fact it might be a good idea to remove one plug and take that with you to buy the replacements. The plug will have a part number stamped on it which can be used to cross reference to replacement parts.
__________________
2013 Winnebago Sightseer 36V
|
|
|
|
|
01-05-2021, 05:44 AM
|
#22
|
|
Senior Member
Join Date: Dec 2019
Location: Alberta
Posts: 1,976
|

First of all welcome aboard. 
Always nice to see a new face at our campfire.
I apologize for comments above. 
I totally agree with you regarding the quality of some workers and this applies to all from trades to the professions. Some are very good and some not so.
I have to admire you for undertaking this task. However it is not that difficult and as suggested a manual is a great help. Take your time, do one plug at a time.
It was mentioned that the wires, cap etc be changed as well. Good advice but do each change separately so you don't get mixed up. Take photos before you start. I'm a retired refrigeration tech and I always made a mud map or took pictures before starting a major task.
May I ask why you wish to change the plugs?
Good luck.
__________________
Jeff and Annette Smith. Sparky, lemon Beagle.
2022 Chevy Equinox RS.
2007 Dutch Star
|
|
|
|
|
01-05-2021, 06:24 AM
|
#23
|
|
Member
Join Date: Dec 2020
Posts: 57
|
good advice thanks
Quote:
Originally Posted by Sweetbriar
On an engine from 10 years into the last century you'll need to search out a pensioner as the current generation (regardless of which side of the Atlantic they might be) are a bit too reliant on electronics, that a GM/Chevy 454 doesn't have, to help figure out what might be wrong. The good ones can just listen to the engine idle or smell the exhaust to get a general sense of what needs attention first.
Search around in You Tube for pointers regarding basic tune up needs and slightly deeper preventative maintenance such as a transmission drain and fill or changing belts. Easy stuff that is even easier if you're not jumping in without some baseline knowledge of what you're going be doing.
|
yep ... i found an American woman who done a great job in video'ing her transmission drain - so i do have half an idea about that one .. and i've located it too .. and found the part (filter and gasket) to change .... cheers for your input - much appreciated
|
|
|
|
|
01-05-2021, 06:28 AM
|
#24
|
|
Member
Join Date: Dec 2020
Posts: 57
|
thank you kindly
thank you so much Xmcdog ....
i just thought it might be helpful to change sparks ... i've had this RV for 6 years now and had a couple of men work on it over that time - some things they done great, some not so .... i don't believe the sparks have ever been changed and right now the beast is poorly ... automatic transmission struggling to change at 3rd and struggling to get over 40mph .. chucks out some white smoke at this point ... if it manages to change then it speeds up fine and drives okay but it's the bit in between that's getting worse .....
Quote:
Originally Posted by Xmcdog
First of all welcome aboard.
Always nice to see a new face at our campfire.
I apologize for comments above.
I totally agree with you regarding the quality of some workers and this applies to all from trades to the professions. Some are very good and some not so.
I have to admire you for undertaking this task. However it is not that difficult and as suggested a manual is a great help. Take your time, do one plug at a time.
It was mentioned that the wires, cap etc be changed as well. Good advice but do each change separately so you don't get mixed up. Take photos before you start. I'm a retired refrigeration tech and I always made a mud map or took pictures before starting a major task.
May I ask why you wish to change the plugs?
Good luck.
|
|
|
|
|
|
01-05-2021, 06:32 AM
|
#25
|
|
Member
Join Date: Dec 2020
Posts: 57
|
Amazing - thank you !!
Amazing - thank you very much Podivin .... at least now i know i did start in the right place in my search ... i removed the dog house and was looking in that vicinity ... ! brilliant - i feel more confident in taking out that first plug, getting top of the range consistent replacements and getting the job done ! you're input has been invaluable - faith in humans restored
Quote:
Originally Posted by Podivin
You may not be able to actually SEE the spark plugs due to limited access because of the dog house (engine cover) inside the RV. You're about going to have to do it mostly by feel. In the attached picture I've drawn red lines to the two plugs that are easily seen in the picture. And even then you can't actually see the plugs, just the wires and the covers that go over the plugs.
Find the distributor on the top of the engine, it'll have 8 plug wires coming out in a circle around the edges and 1 wire in the center. Follow the 8 wires to their respective spark plugs. There are four on each side and they are all directly across from each other. Just feel around on both sides of the engine until you're comfortable you've found them all.
Do NOT remove more than one plug wire at a time, that way you don't have to worry about putting the wires on the wrong plugs. If you're replacing the wires at the same time then do that wire at the same time you replace the plug.
Remove the plug wire from the plug (to remove the wire pull on the cap over the plug, not on the wire itself). Remove and replace the plug, put the wire back on - make sure it snaps into place, THEN move on to the next plug and repeat the process.
When putting the new plugs in be careful not to cross thread the plug in the hole. You should get at LEAST one easy full turn on the plug using just your fingers before it's starts to tighten up. If it tightens faster than that you're probably cross threaded, back it out and try again. Because you won't be able to see into the hole you'll be doing this totally by feel. Before you take out the old plug, after you've taken off the wire, feel around the plug to get a good idea of it's angle relative to the engine, that will help you get the next one started at the proper angle so that it doesn't cross thread.
When you remove the first plug put it side by side with the replacement to make sure they are the same size and shape. If not go get some that are. In fact it might be a good idea to remove one plug and take that with you to buy the replacements. The plug will have a part number stamped on it which can be used to cross reference to replacement parts.
|
|
|
|
|
|
01-05-2021, 07:24 AM
|
#26
|
|
Senior Member
Join Date: Jan 2020
Posts: 1,867
|
Quote:
Originally Posted by iamdogstar
apologies ... !! i have only just seen your previous quote
i'm still also navigating this site !! thank you kindly ... i really hope to come back with a positive success response - this is my first time attempting any of this on the Winnebago (although i managed to supply and fit the toilet, sink and other minor cosmetics on board) ....
|
I believe you are responding to my post which was in response to post by someone else. We all forget stuff. Thus the winking emoji. A little humor, nothing more.
And I admire your wllingness to jump in an service your RV yourself. If I might add, in regards to replacing the spark plugs. I almost always find that once I remove one, the new one will always screw in by hand. Usually you will need a short extension, but you absolutely want to make sure it’s threaded in correctly. A cross threaded plug is not something you want to deal with. And it does not get tightened down real tight. Good and snug. If you have access to a torque wrench, even better. (Tightening by hand is one of those things you learn the feel for from doing it over time) Good luck
__________________
2017 Fleetwood Bounder 36Y
|
|
|
|
|
01-05-2021, 07:39 AM
|
#27
|
|
Member
Join Date: Dec 2020
Posts: 57
|
Quote:
Originally Posted by F4Gary
"Anyone know where I can locate the spark plugs ?!
I have a manual but it doesn't show this ..
Is there a manual out there that shows all engine / ignition locations etc "
This tells me he doesn't know where the sparkplugs are on his engine. Not where and what to buy.
On a Chevy big block they are not in the valve covers, they are down by the exhaust manifold.
OP, I would suggest you get some help with your tune up project.
Good luck and leave the tranny fluid change to a pro.
 |
cheers
|
|
|
|
|
01-05-2021, 07:46 AM
|
#28
|
|
Senior Member
Join Date: Jan 2020
Posts: 1,867
|
As an added note, notice that the plugs are at a slight angle. Not straight in.
The drivers side they will angle to the rear. On the passenger side they will angle forward.
__________________
2017 Fleetwood Bounder 36Y
|
|
|
|
|
|
|
Currently Active Users Viewing This Thread: 1 (0 members and 1 guests)
|
|
|
 Posting Rules
|
You may not post new threads
You may not post replies
You may not post attachments
You may not edit your posts
HTML code is Off
|
|
|
|
 » Recent Discussions
 |
|
|
|
|
|
|
|
|
|
|
|
|
|
|
|
|
|
|
|
|
|
|
|
|
|


 Linear Mode

