 |
|
 03-17-2008, 01:26 PM
|
#43
|
|
Senior Member
Join Date: Aug 2007
Posts: 533
|
Mike & Amy:
Assuming you are spaning a typical older coach width of around 7' to 7-1/2', you could use .065 wall tubing. The common (reasonably priced) sizes are .065"(just over 1/16"), .074" .090" (just under 3/32") .125" (1/8"), .25" (1/4").
I would think that rectangular would work but stood on the vertical dimension rather than flat. I would stick with a range from .065 to .090 and ONLY use .125 or .25 in areas that you will also add vertical supports in the walls and tie it to the frame below the floor since these could act as a "roll-cage" provided that there are two "hoops" tied together front to rear in multiple locations.
I think the thinner stuff could be spaced at 24" centers from front to back giving you a very light, yet strong structure. Use the heavier wall tubes fot the AC units and tie together all braces with the lighter stuff. If you need to drill through for wiring, weld in steel spacers to act as passages throught the tubing and to maintain the tubings strength.
Square and rectangular tubing can be "rolled" to put a gentle arc to a serious bend in it BUT the minimum to do this is 1/8" wall as the thinner stuff crushes. The .090 "might" work but it depends on how patient you or the fabricator are. You can make your own bender if you have a table big enough to "pin" in the "dies". You can make the dies out of HD channel or halves of pre-bent round tubing with an insert welded to "widen" the curve. A gentle bend as you slide the tubing in through the "clamped dies" can produce a nice arc.
Judging from how you guys have "jumped in with the sharks", this is easy. Just use a non-flamable welding blanket or backing when you weld in that tinderbox and have a fire extinguisher (or two) at the ready. Do not use any of the old roof spars.
...just my $.02
"Give me enough time to grind and paint it and you'll hardly notice I welded it."
__________________
1998 Gulfstream 36' Sun Voyager Bus Platinum
|

|

|
 |
Join the #1 RV Forum Today - It's Totally Free!
iRV2.com RV Community - Are you about to start a new improvement on your RV or need some help with some maintenance? Do you need advice on what products to buy? Or maybe you can give others some advice? No matter where you fit in you'll find that iRV2 is a great community to join. Best of all it's totally FREE!
You are currently viewing our boards as a guest so you have limited access to our community. Please take the time to register and you will gain a lot of great new features including; the ability to participate in discussions, network with other RV owners, see fewer ads, upload photographs, create an RV blog, send private messages and so much, much more!
|
|
03-17-2008, 04:35 PM
|
#44
|
|
Registered User
Join Date: Aug 2002
Location: Socorro, NM (until ?)
Posts: 1,552
|
You might really want to rethink the off-air antenna. Sometimes it's handy to have acces to "local" channels. I use both Sat dish and occasionally local channels. Usually for the occasional Network access (I don't have subscriptions to ACB, CBS, NBC because if I can't find something on the 200+ channels I do have, then nothing is worth watching) and/or local weather reports. Also if no clear sky, no satellite reception.
Good luck with the rebuild... Don't forget to pay attention to the front windshield.
|
|
|
|
|
03-19-2008, 11:56 AM
|
#45
|
|
Member
Join Date: Feb 2008
Posts: 35
|
Hello again! Just returned from a little break in Myrtle Beach.
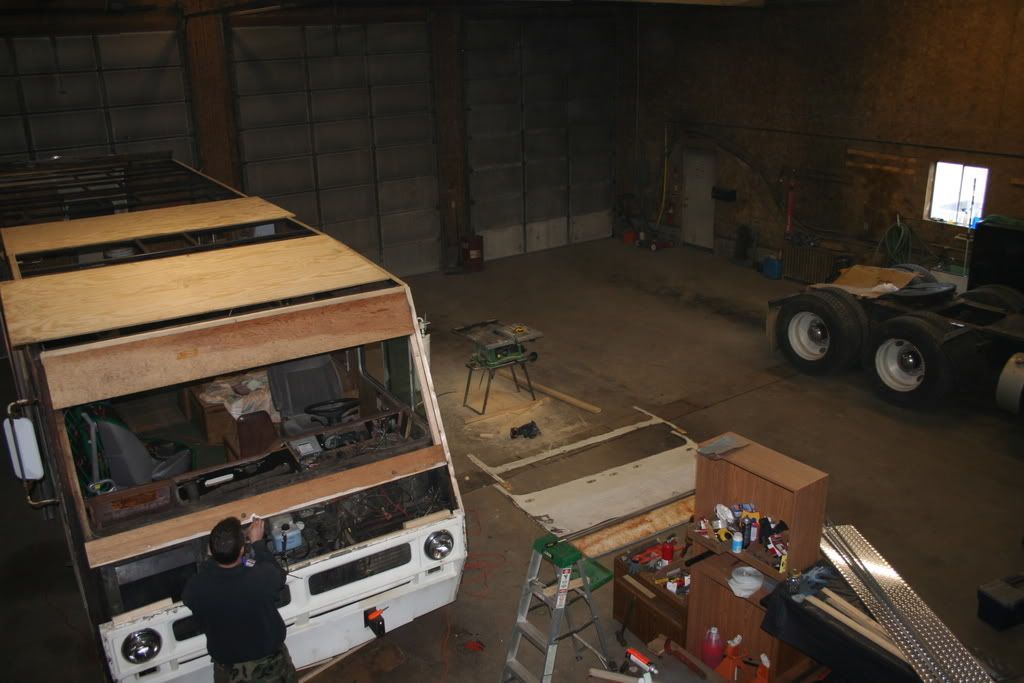
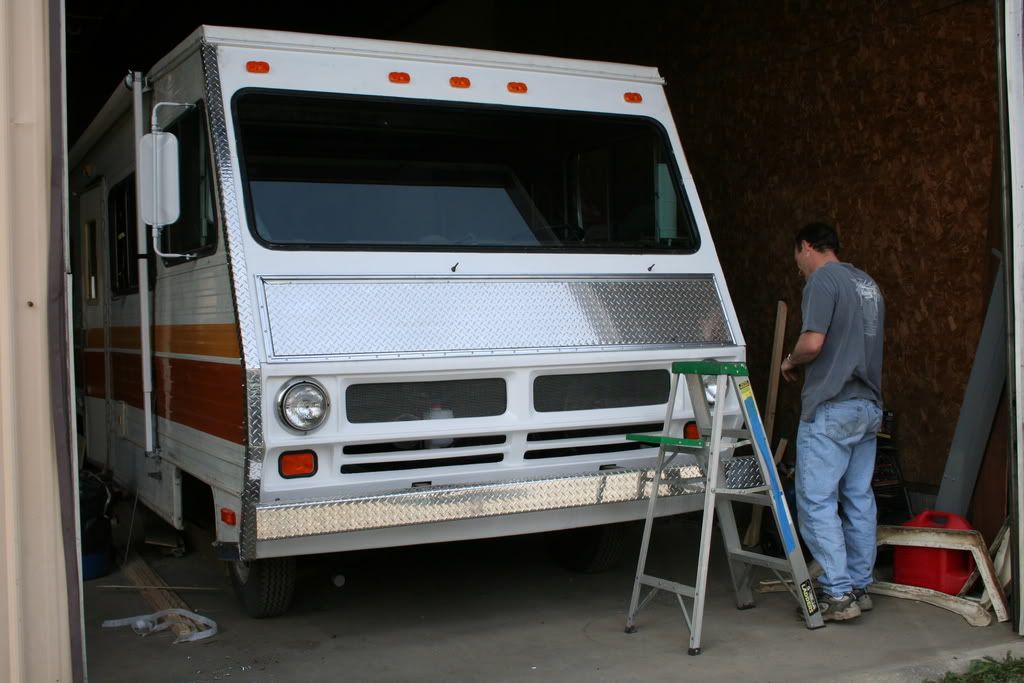
Thanks for the info Quikduk! A good friend was able to order the tubing through his work and have it all cut to size for us. He saved us quite a bit of cash with his employee discount(thanks Brad!). He also hooked us up with a buddy who is going to weld everything up for $50.00 and beer this Friday! This guy is a professional welder(and beer drinker) so I am stoked  !
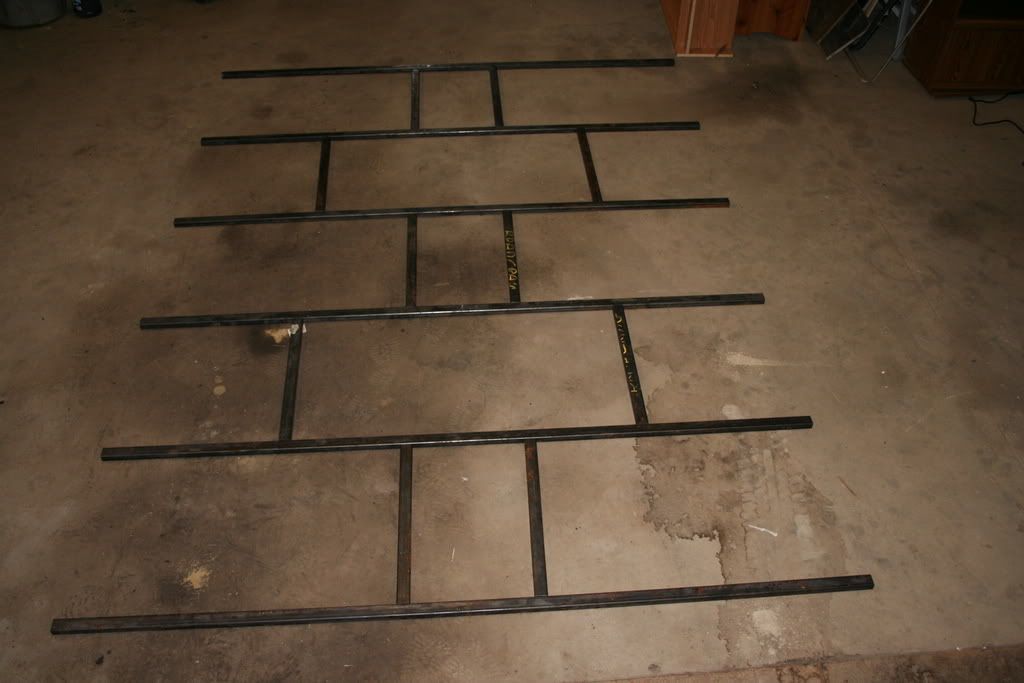
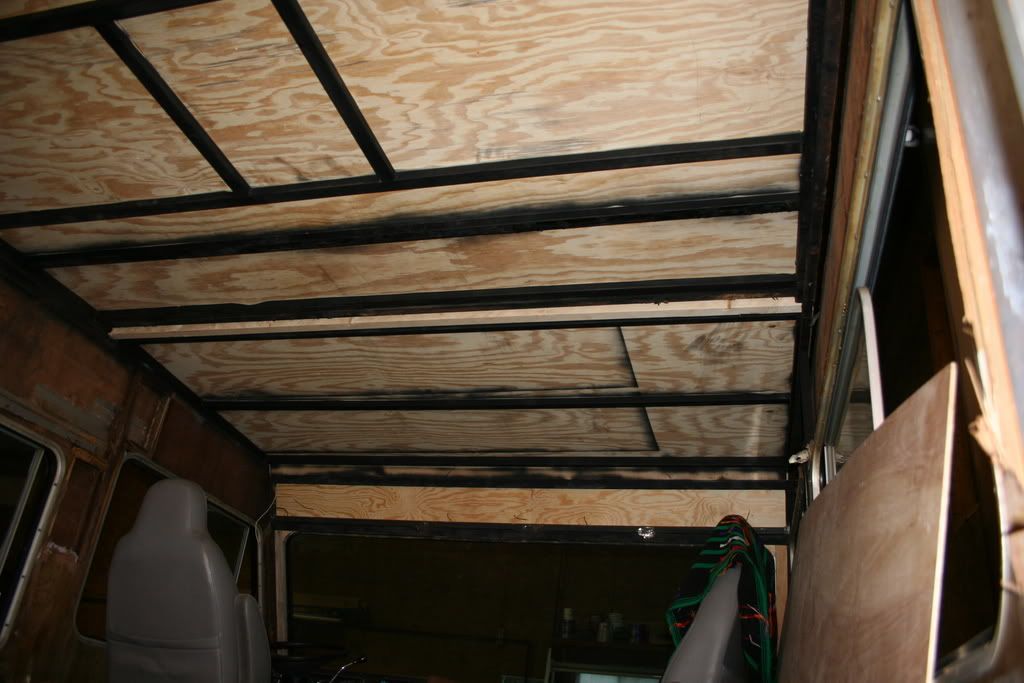
The tubing was ordered as 12 gauge which converts to .104" although when I measured the thickness it appears to be .125". The old crossmembers were 1/16" exactly so I have doubled the thickness and will be using 24" centers. I have to keep these flat as we will be using these to attach the plywood(on top & bottom) to get the correct thickness. We plan on using 1" insulation between them.
We had the pieces cut a little long so we could create an arch as they are being welded in. Thanks for the tips on bending as we might do that!
We will try not to burn her up!
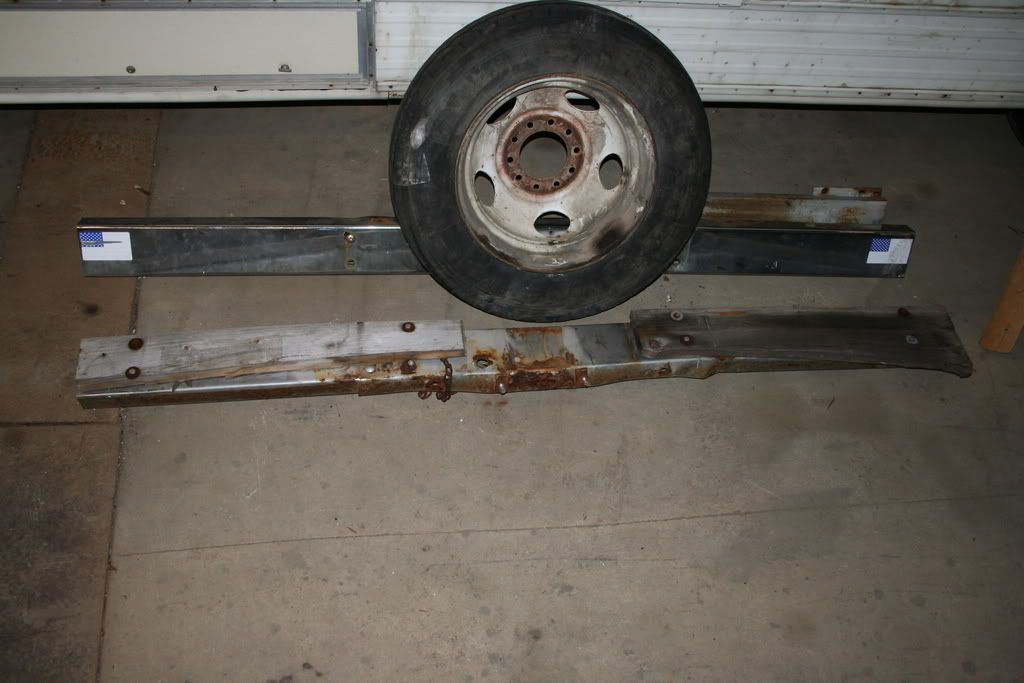
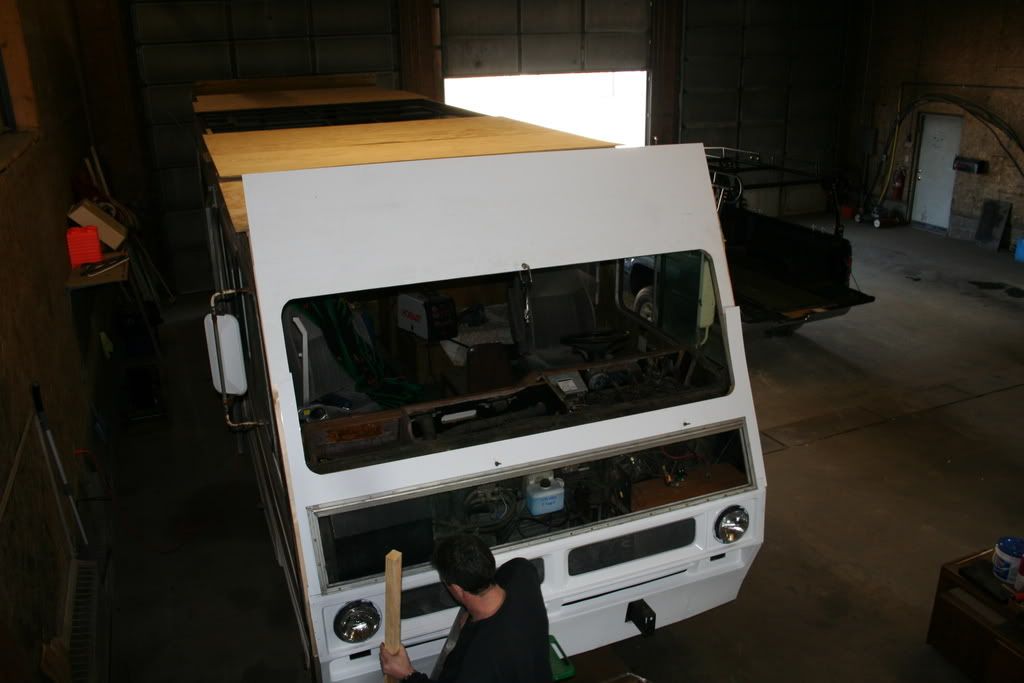
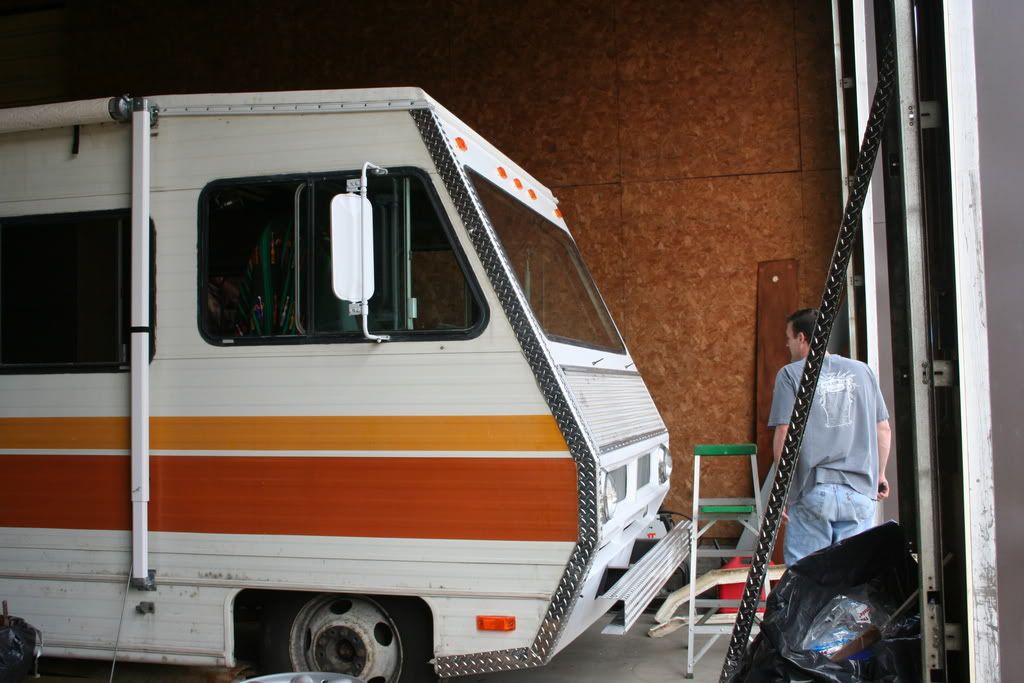
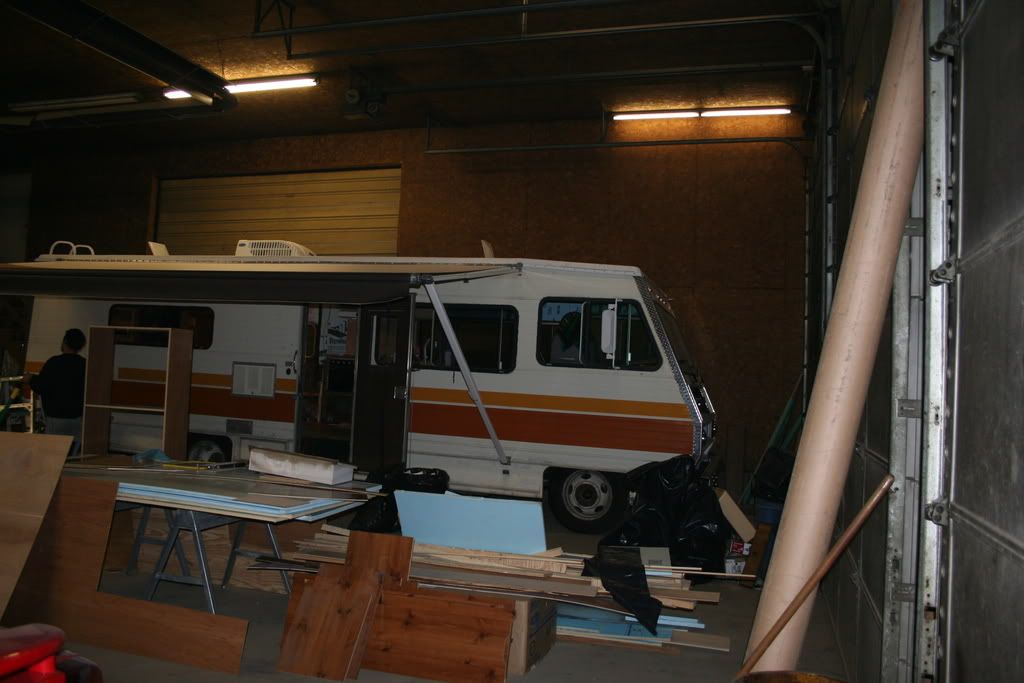
This shows the old tubing vs. the new tubing.

General layout of the new frame.

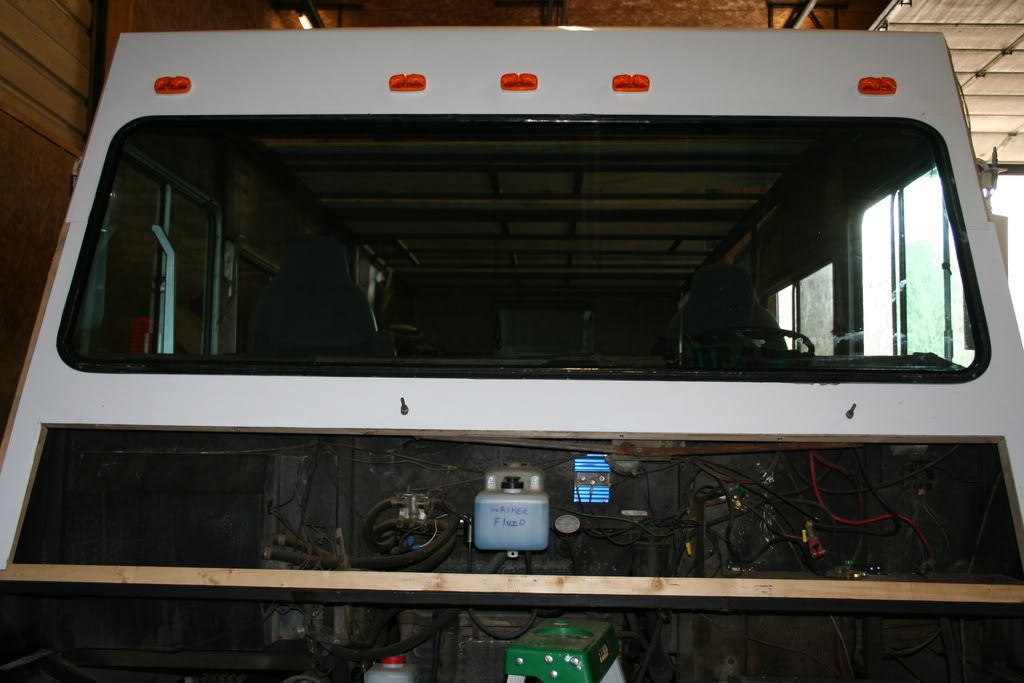
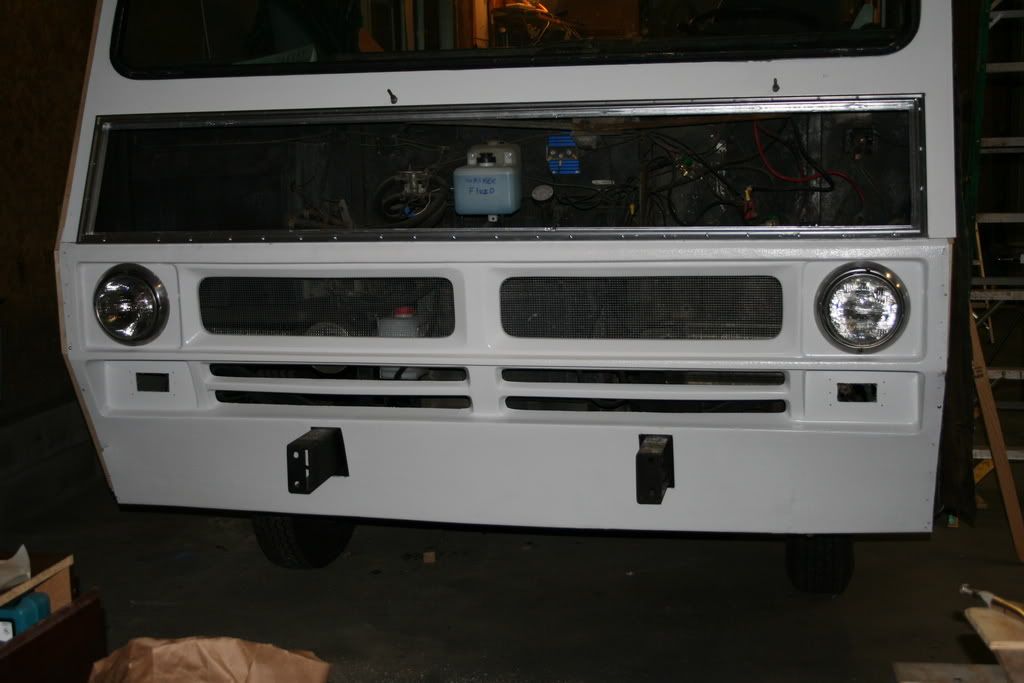
Old bumpers.

New bumpers & engine compartment door(not installed yet).


|
|
|
|
|
03-19-2008, 12:07 PM
|
#46
|
|
Member
Join Date: Feb 2008
Posts: 35
|
Thanks for the advice Lorna! We are going to pull out the windshield and reframe/reseal it as I am positive it has been leaking. We plan on doing all the windows eventually.
As far as the antenna goes.....I miss my "batwing"  .
|
|
|
|
|
04-03-2008, 06:34 PM
|
#47
|
|
Senior Member
Vintage RV Owners Club
Join Date: Jun 2006
Location: Texas
Posts: 2,241
|
Hows it going?? 
__________________
1991 1500 Chevy Pickup
1994 5th wheel 30 foot trailer
I'm lost. I've gone to look for me. If I should return before I get back, please ask me to wait.
|
|
|
|
|
04-18-2008, 03:12 AM
|
#48
|
|
Member
Join Date: Feb 2008
Posts: 35
|
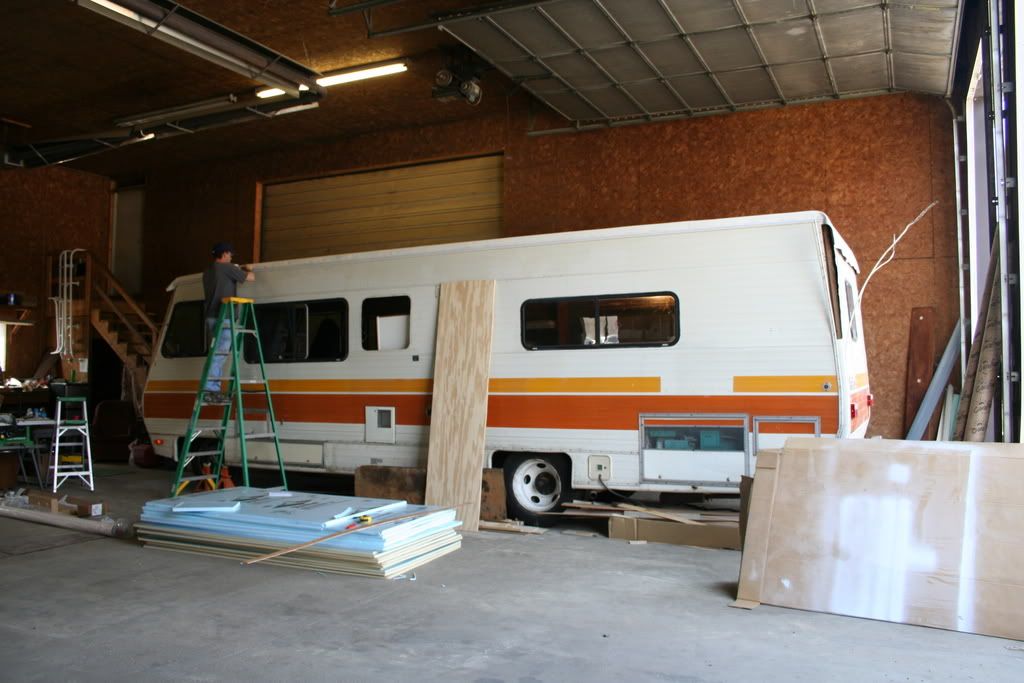
Sorry it's been so long folks. I had to put my postings on the back burner for awhile as the days only have enough hours for work, baseball(Little League), motorhome, & sleep.
We have taken advantage of our rented work bay as it has become a second home to us...fridge, coffee maker, lounge chairs-lol.
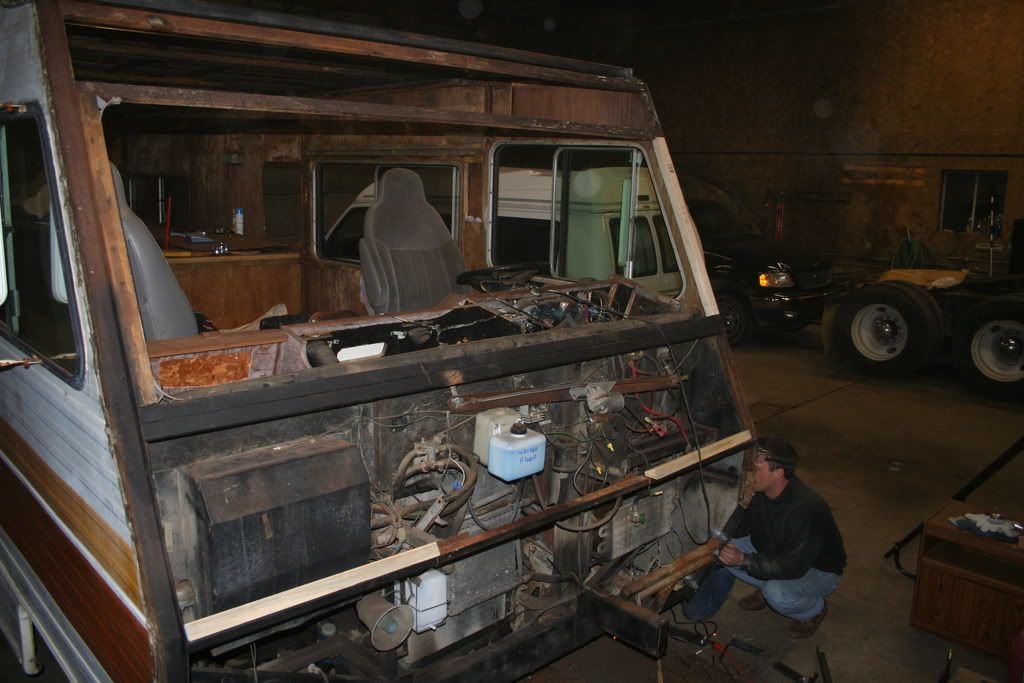
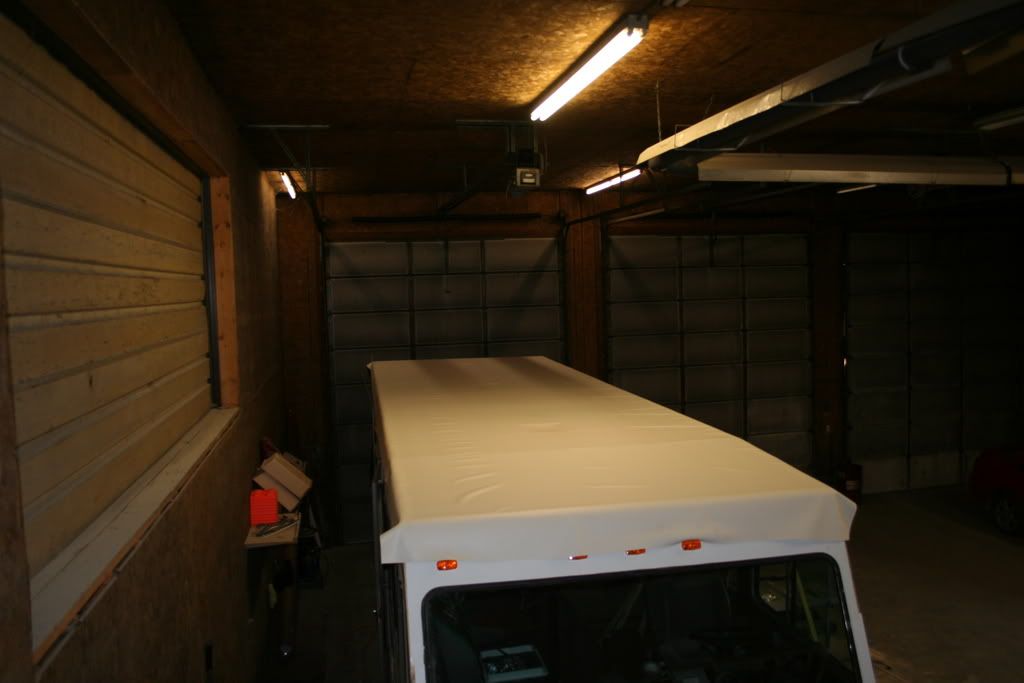
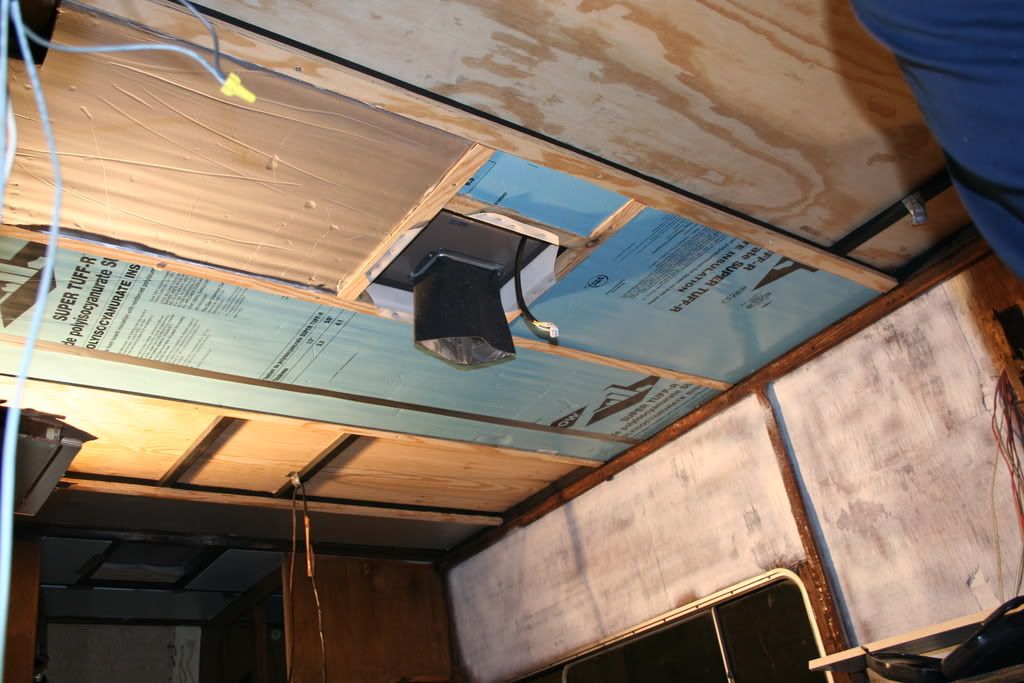
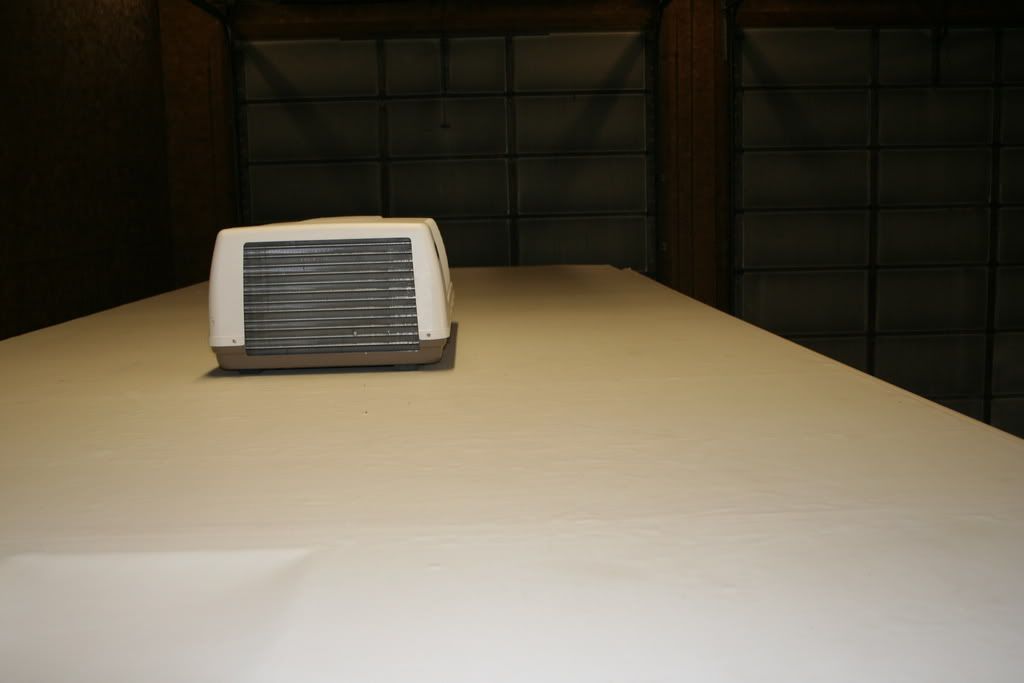
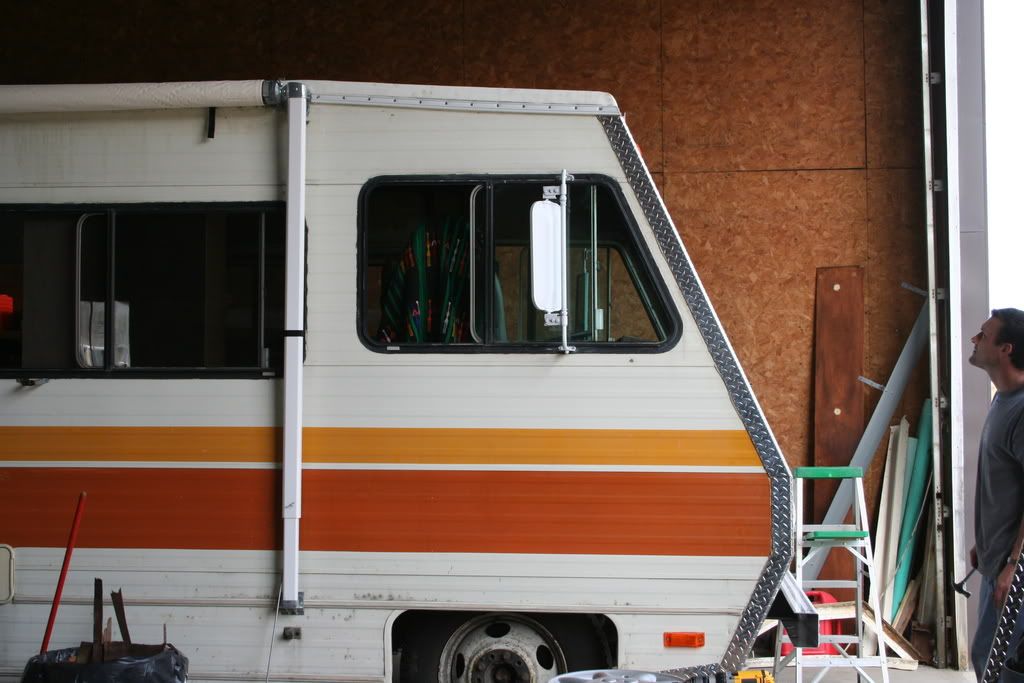
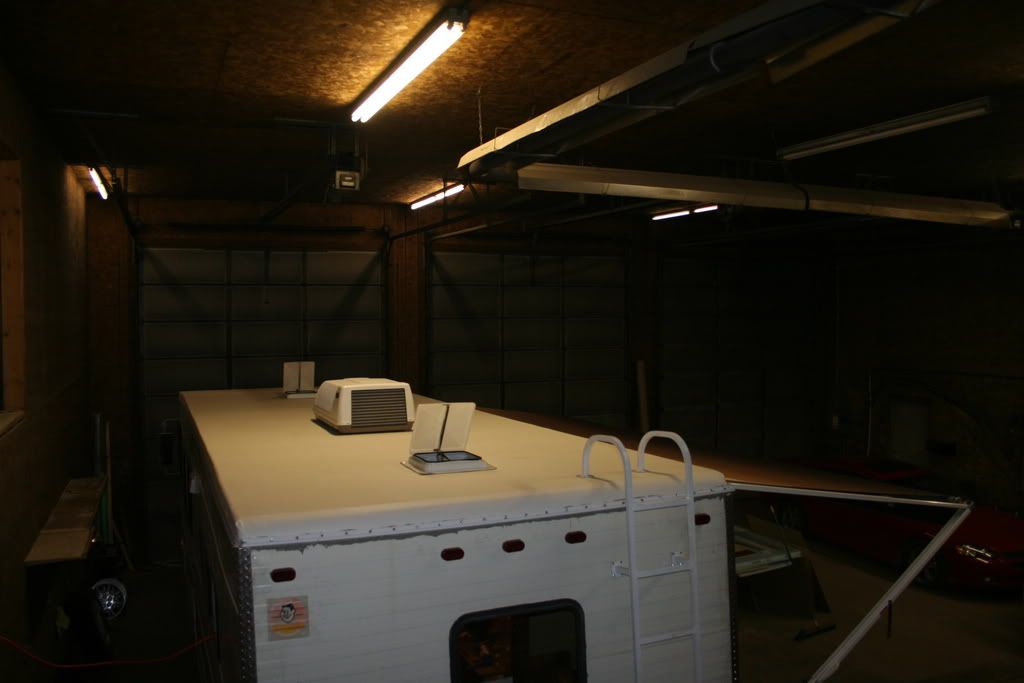
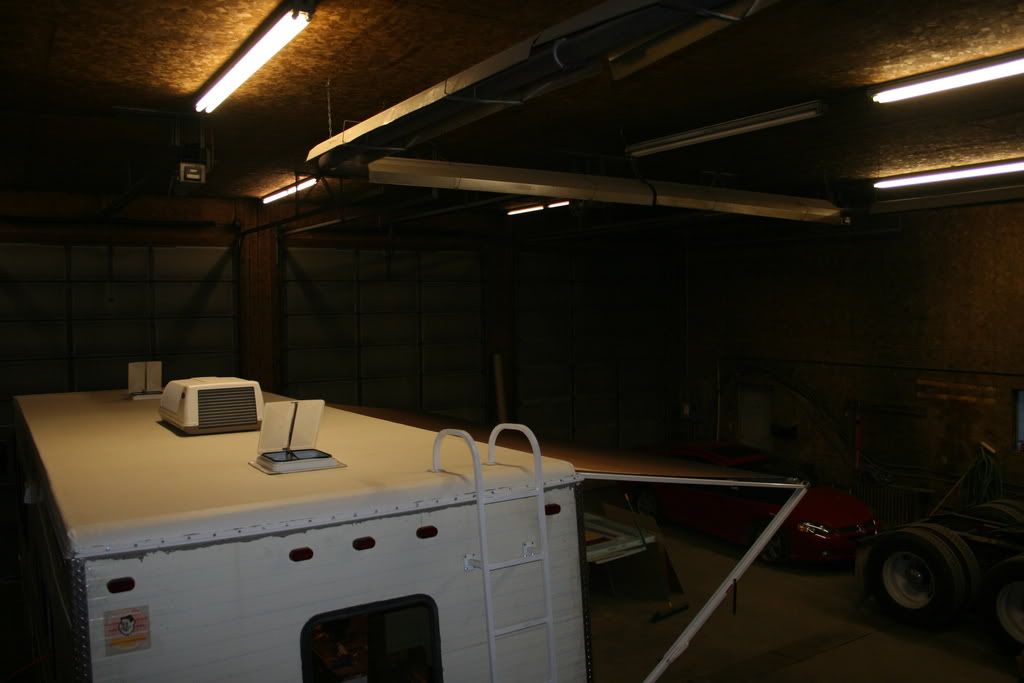
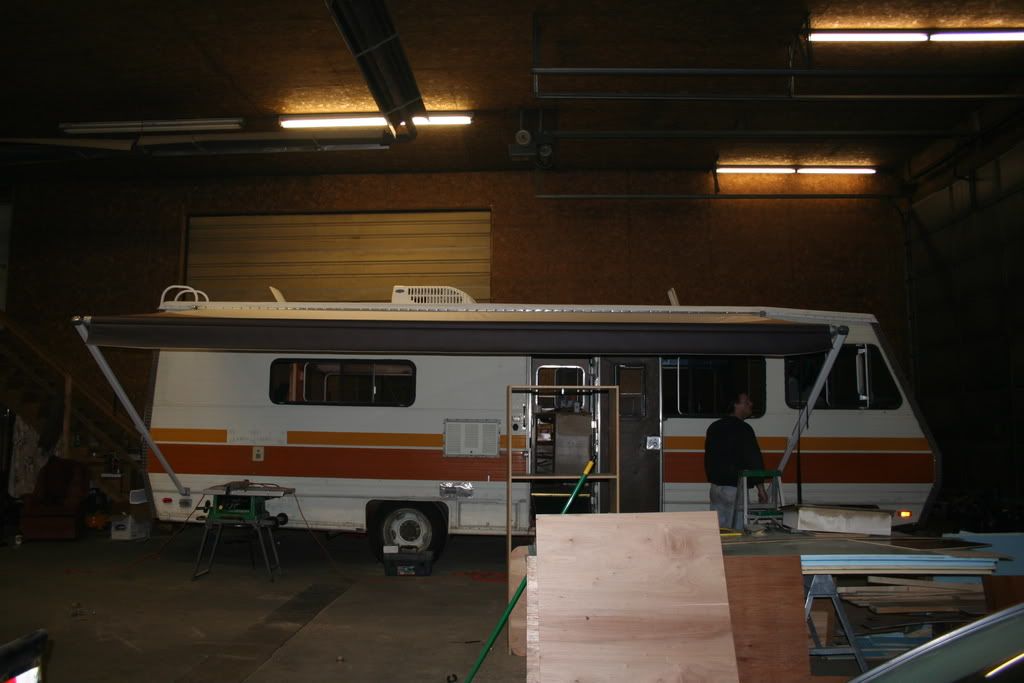
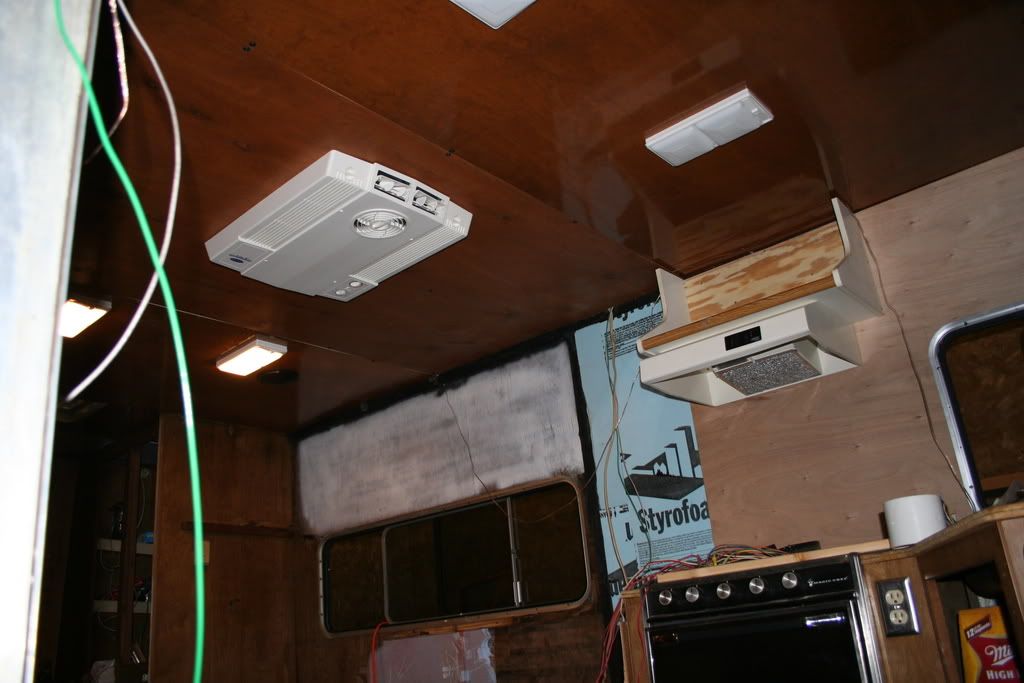
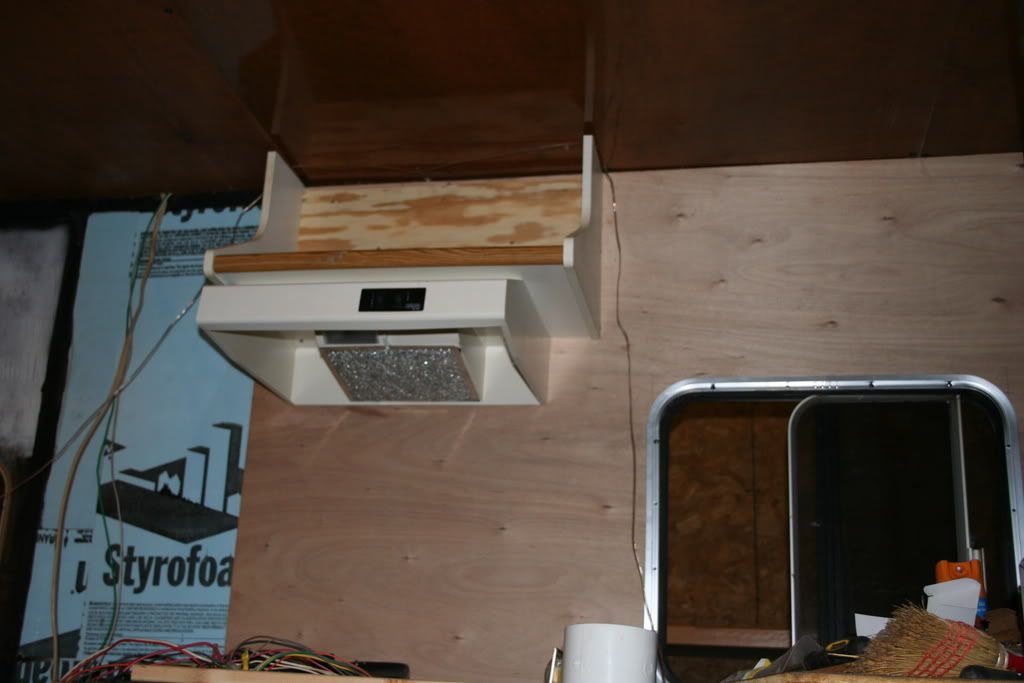
We are actually ahead of schedule, surprizing due to all the extra things we have done or had to do. Roof is on! The awning & A/C are going on this weekend. The front end had to be reframed due to rot. New windshield. Air-ride 1000s up front, 5000s in the back. Probably a few things I am missing at the moment.
I'll be posting pics after we get "The Grand Hotel"  back to the campground!
|
|
|
|
|
05-03-2008, 04:27 AM
|
#49
|
|
Member
Join Date: Feb 2008
Posts: 35
|
|
|
|
|
|
05-03-2008, 04:58 AM
|
#50
|
|
Member
Join Date: Feb 2008
Posts: 35
|
|
|
|
|
|
05-03-2008, 10:21 AM
|
#51
|
|
Moderator Emeritus
Ford Super Duty Owner
Join Date: Aug 2000
Location: Bryan, TX when not traveling.
Posts: 22,948
|
Looking good. I am sure you will have many happy memories in the "new" coach.
Ken
__________________
Amateur Radio Operator (KE5DFR)|No Longer Full-Time! - 2023 Cougar 22MLS toted by 2022 F150, 3.5L EcoBoost Tow Max FX4 Lariat Travel with one Standard Schnauzer and one small Timneh African Gray Parrot, retired mechanical engineer
|
|
|
|
|
05-03-2008, 08:20 PM
|
#52
|
|
Senior Member
Vintage RV Owners Club
Join Date: Jun 2006
Location: Texas
Posts: 2,241
|
WOW!!! Mike and Amy, You have been really working hard to get that buggy done that fast!!!
I like the diamond tread on the nose! Are you leaving it like that or painting??
Your ceiling was all metal!? Mine had a roll cage every few feet but the rest was wood! I am really wondering which is better? But it seemed to make it go faster!
At any rate I give it a high five!!!! Enjoy, You earned it for sure, Dan 
__________________
1991 1500 Chevy Pickup
1994 5th wheel 30 foot trailer
I'm lost. I've gone to look for me. If I should return before I get back, please ask me to wait.
|
|
|
|
|
05-04-2008, 04:13 AM
|
#53
|
|
Member
Join Date: Feb 2008
Posts: 35
|
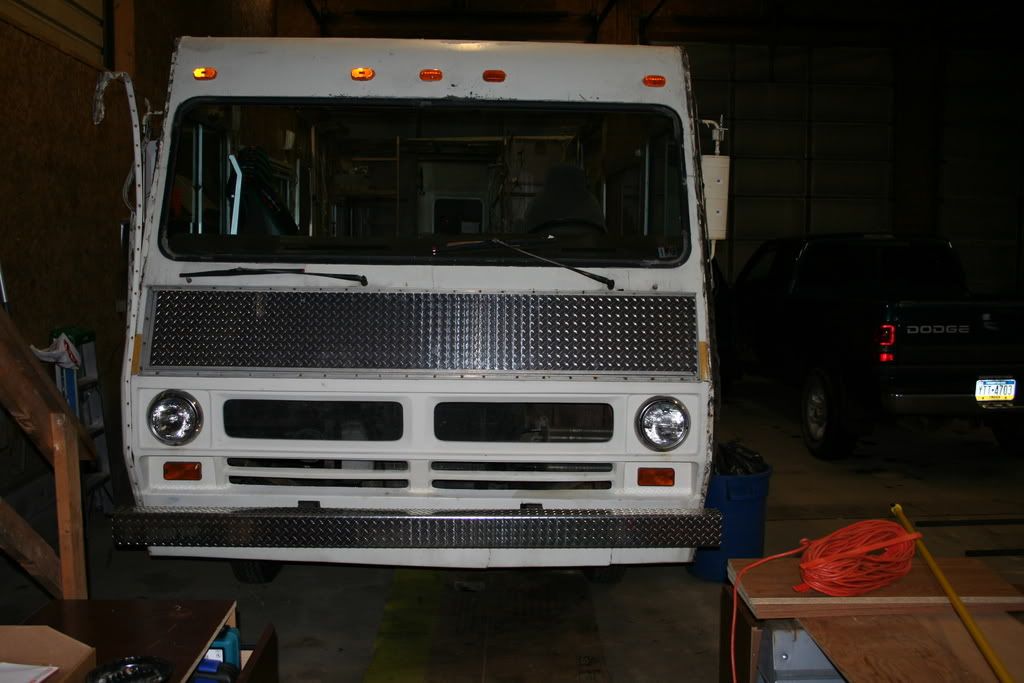
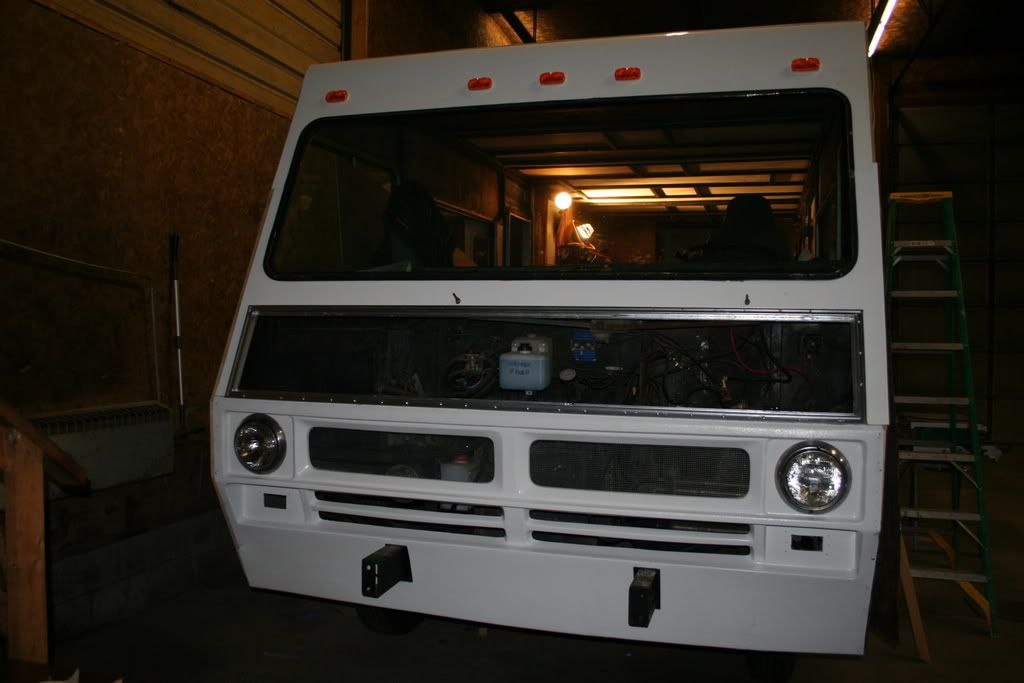
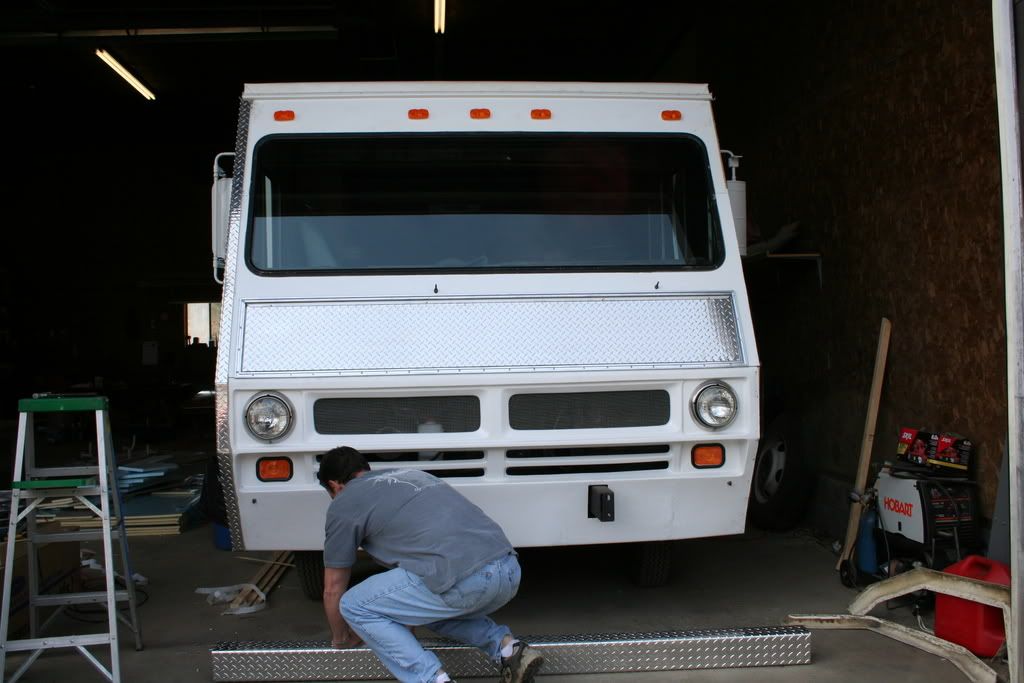
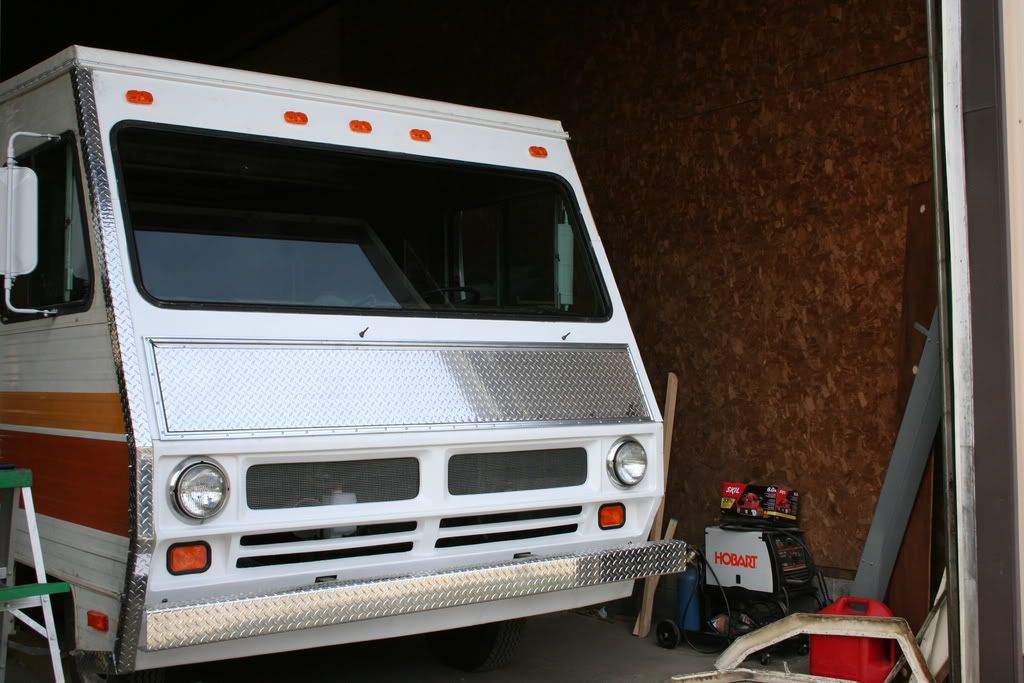
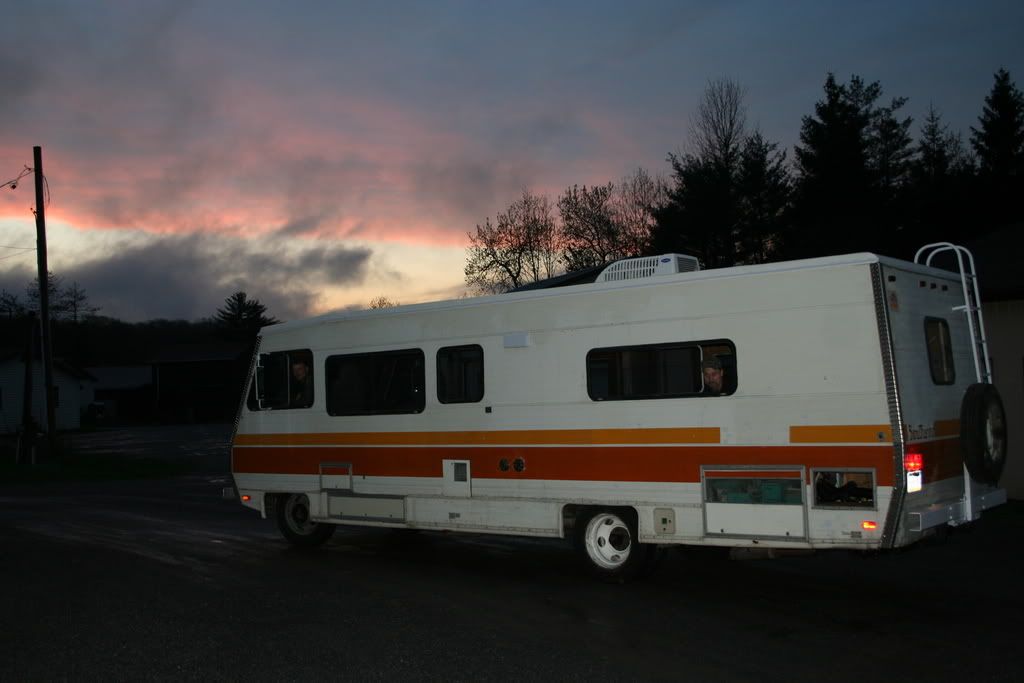
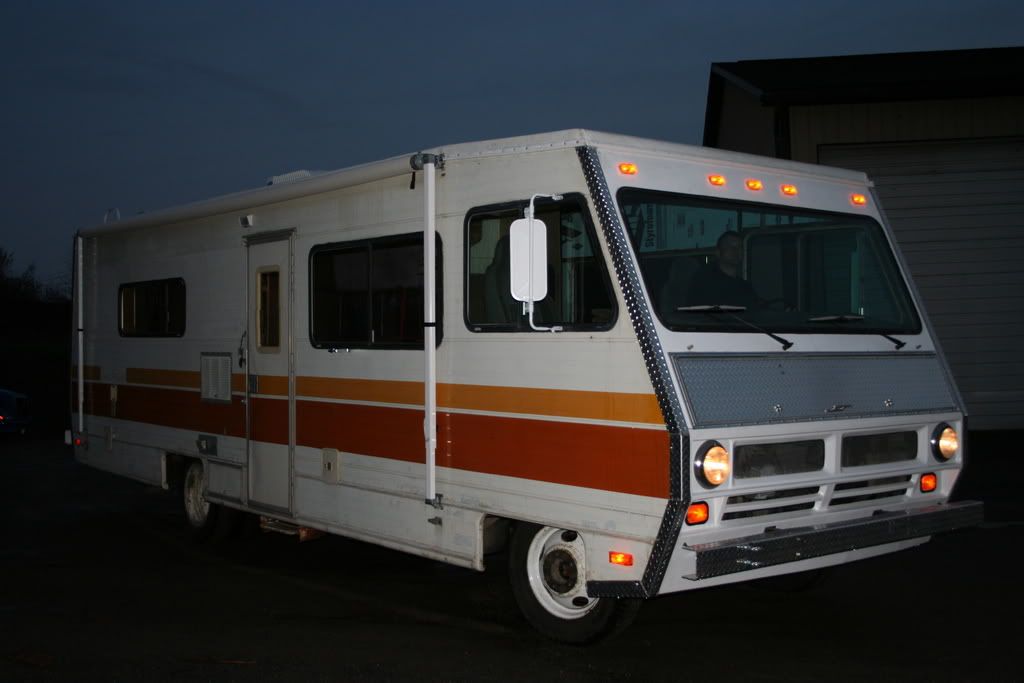
Thanks Dan! We decided that working our *sses off during 2 of the crappiest months in NW PA would be nothing compared to the enjoyment of using it during PA's best months. That is what we keep telling ourselfs  . For now we are leaving the diamond plating as is. Nature should dull it a bit, if it is blinding the neighbors at the campground(or starting fires with it's reflections), we will paint it white.
We decided to stay and use our one last day at the garage mounting the spare tire carrier, installing the back-up camera, and patching a pinhole leak in the water holding tank.
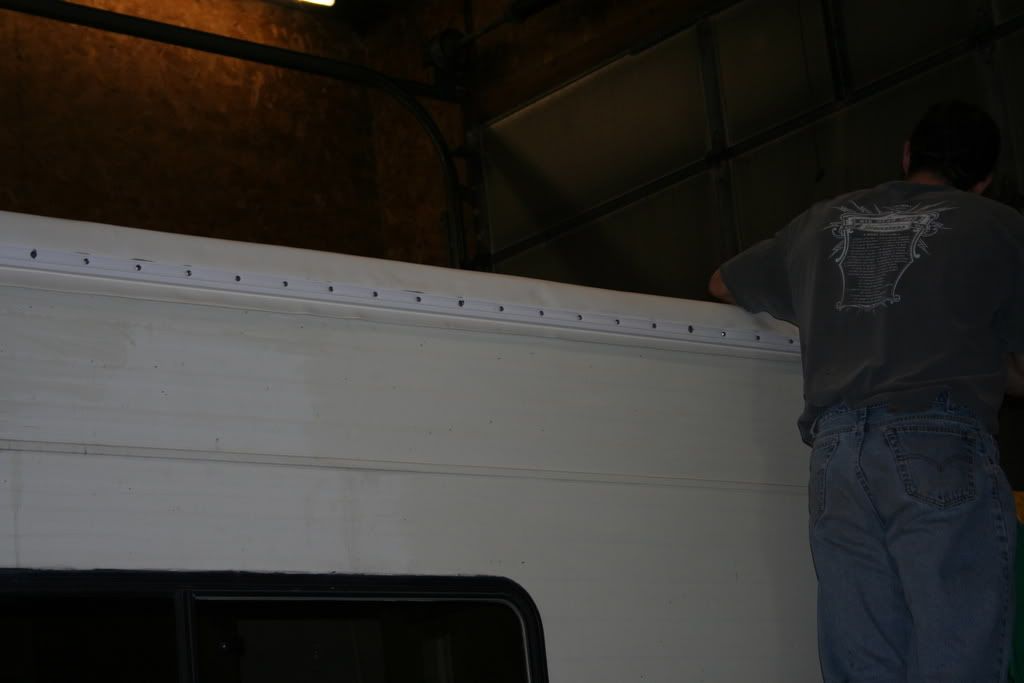
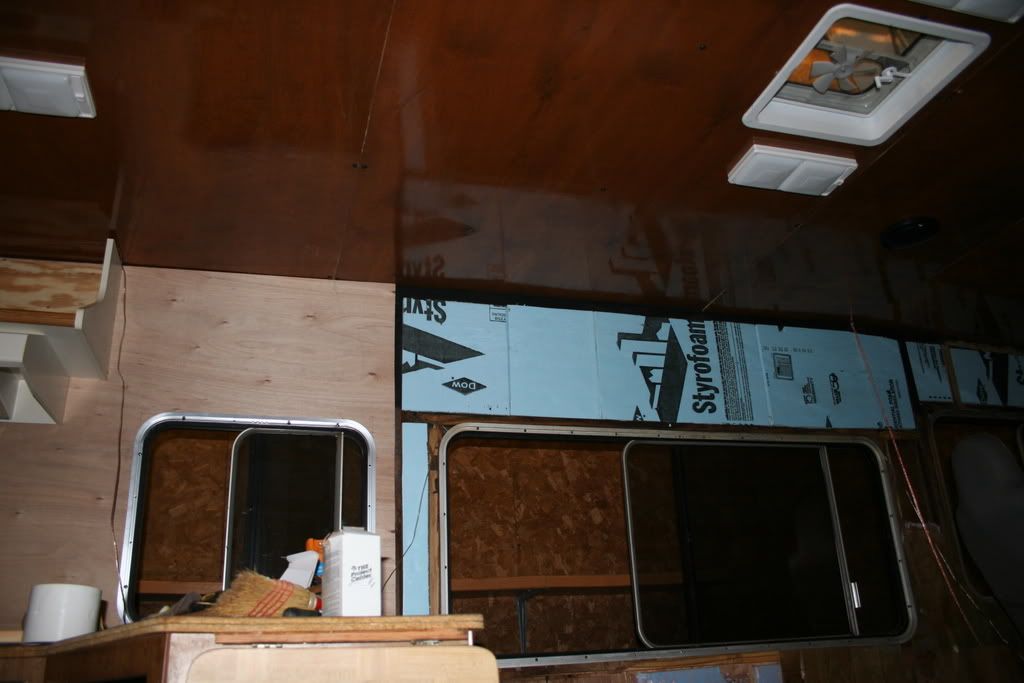
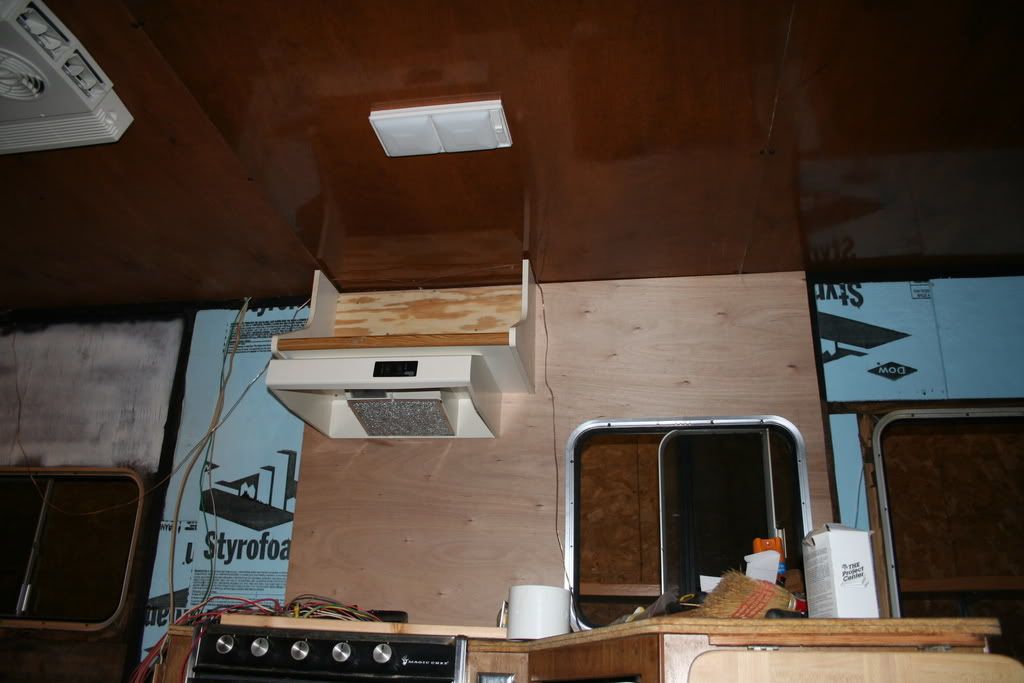
The roof rebuild was built from the top down instead of the normal ceiling panel up approach. Either way is labor & time intensive, just taking the same steps in different order really.
We still have plenty of work to do but will be doing it at a much more relaxing pace...after today  .
My buddy Brad and I pulling out for a short test trip around block.

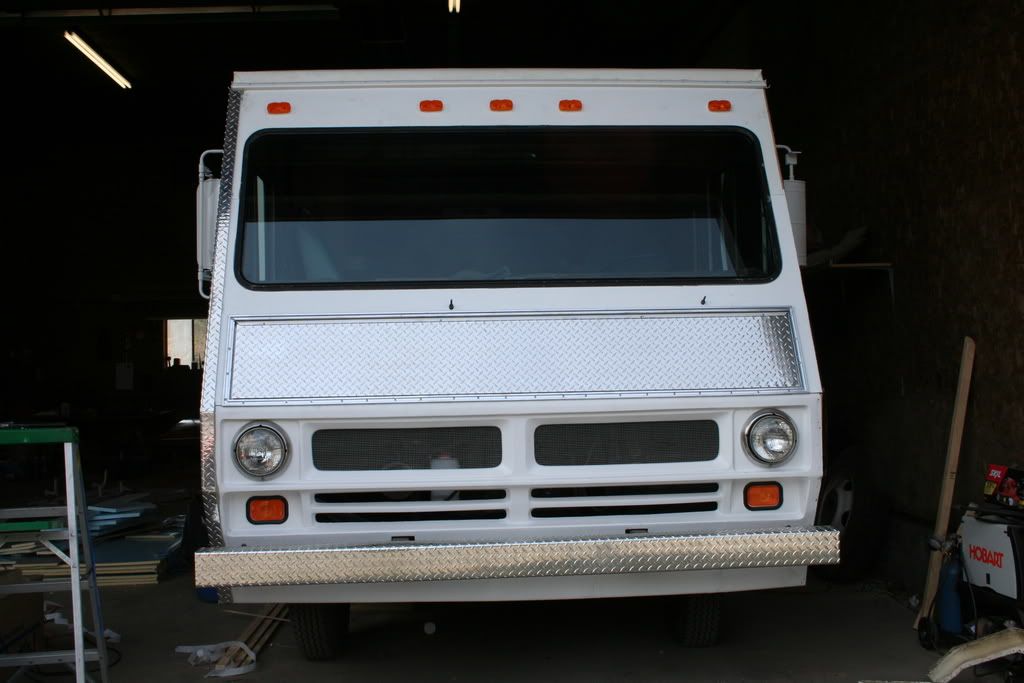
The completed front end with hood latches and flag pole holder.

|
|
|
|
|
|
|
Currently Active Users Viewing This Thread: 1 (0 members and 1 guests)
|
|
|
 Posting Rules
|
You may not post new threads
You may not post replies
You may not post attachments
You may not edit your posts
HTML code is Off
|
|
|
|
 » Recent Discussions
 |
|
|
|
|
|
|
|
|
|
|
|
|
|
|
|
|
|
|
|
|
|
|
|
|
|


 Linear Mode

